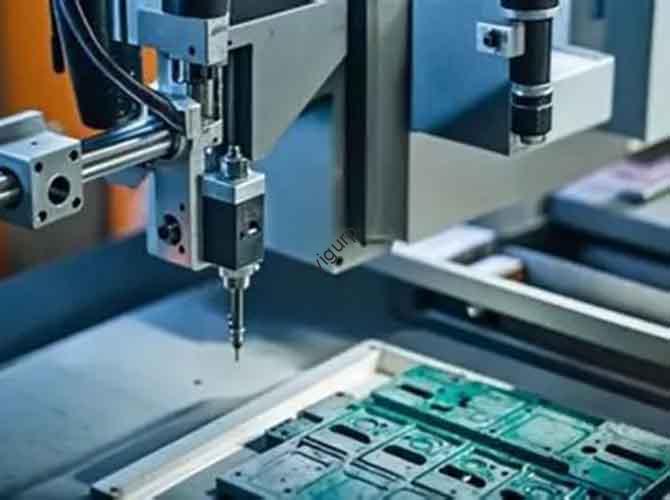
In the world of CNC machining, even a tiny error can ruin a part. These defects in CNC machining affect the look, fit, and safety of your product. If a part fails, it costs you time, money, and your reputation. Most issues come from wrong tool choices, bad machine settings, or poor setups. The good news is that these problems are easy to fix once you know what to look for. This guide covers common defects, why they happen, and how to stop them.
What Causes Common Surface Defects?
Surface defects are the first thing people notice. They don’t just look bad; they can also cause friction or rust. Keeping a smooth finish is vital for both looks and performance.
Tool Marks and Scratches
Tool marks often appear as wavy lines or rough textures. They usually happen when a tool is dull or the cutting speed is too low. To fix this, replace your tools every few hours. If you use aluminum, try bumping your speed from 1000 RPM to 1500 RPM. Scratches are often caused by loose debris. Always clean the machine bed before you start a new job.
Sharp Burrs and Chatter
Burrs are sharp, raised edges that feel scratchy. They happen when the tool tears the metal instead of cutting it cleanly. Adding a small chamfer (like 0.5mm × 45°) to your design can help. Chatter traces are wavy lines caused by vibration. You can fix this by tightening your tool holders or reducing your cut depth by about 30%.
| Defect Type | Root Cause | Quick Fix |
| Tool Marks | Dull tools | Use sharp bits; increase RPM |
| Scratches | Loose debris | Clean the machine bed often |
| Burrs | Low cutting speed | Add a chamfering step |
| Chatter | Machine vibration | Tighten bolts; shallower cuts |
Why Do Dimensional Errors Happen?
A dimensional defect means your part is the wrong size. If a hole is even 0.1mm too small, your fasteners won’t fit. These errors often stay hidden until the final check.
Problems with Fit and Form
Most dimensional errors happen because of tool wear or heat. For example, aluminum expands by 0.02mm for every meter if the heat rises by 10°C. You must keep your shop at a steady 20–25°C. Also, check your G-code in your CAM software before you hit start.
Incomplete Cuts and Seams
If a tool breaks mid-job, you get incomplete cuts. You can prevent this by adding “tool break detection” to your program. Mismatched seams happen when the part moves during the process. Using a custom fixture ensures the part stays locked in place. You should also calibrate your X, Y, and Z axes every week.
Are Your Parts Structurally Sound?
Structural defects are the most dangerous. They lead to parts that crack or snap under pressure. This is a huge risk for aerospace or medical parts.
Cracking and Internal Stress
Cracking often happens in brittle metals like cold-rolled steel. If you clamp the part too hard, it might shatter. Use a force gauge to keep pressure below 500N for aluminum. Internal stress causes parts to warp over time. To stop this, anneal the material by heating steel to 600°C before you machine it. This relaxes the metal so it stays straight.
Issues with Laminate Materials
Delamination happens when layers of material, like carbon fiber, peel apart. This is usually caused by a dull tool or too much pressure. Use a tool with a 30° rake angle to slice through layers cleanly. Always cut in the direction of the layers to avoid “lifting” the material.
How to Manage Tool-Related Issues?
Your tools are the heart of the machine. Poor tool management ruins parts and can even damage the CNC machine itself.
Preventing Breakage and Build-up
Tool breakage happens when you overload the bit. A good rule of thumb for carbide end mills is to keep the depth at 3x the tool diameter. Make sure to tighten holders to the right torque, like 25 N·m for ER32.
Another issue is Built-up Edge (BUE). This is when hot metal chips stick to the tool tip. It creates a rough cut. To stop this, use a water-soluble coolant and increase your speed. Clean the tool tip every 10 minutes to keep it sharp.
Can Maintenance Reduce Your Defect Rate?
The best way to handle defects is to stop them before they start. A simple maintenance plan can cut your errors by over 60%.
A Weekly Checklist for Quality
- Inspect Tools: Use a magnifying glass to find tiny chips.
- Calibrate Axes: Ensure accuracy stays within ±0.001mm.
- Clean the Bed: Remove all oil, old chips, and coolant.
- Check Fixtures: Look for cracks or loose parts in your clamps.
Real-World Success Story
One of our clients in the auto industry had a 15% defect rate. Their parts had constant tool marks and size issues. They started our weekly checklist. Within a month, tool marks dropped by 80%. Their total defect rate fell to just 3%. This saved them $10,000 every month in material costs alone.
Why Choose Yigu for Quality Control?
At Yigu Technology, we know that defects in CNC machining are expensive. We help our clients cut these errors by up to 70%. We do this through custom tool selection and AI-driven settings. For one client, we fixed a major cracking issue by changing their clamping force. This cut their scrap rate from 12% down to 2%. We believe in catching problems early with real-time detection.
Conclusion
Avoiding CNC machining defects requires a mix of sharp tools, the right settings, and clean habits. Whether you are dealing with surface marks or dimensional errors, most fixes are simple. By following a steady maintenance routine, you can save money and build better parts.
FAQ
How often should I check for tool wear to prevent defects?
For high-speed jobs (1500+ RPM), check every 2 hours. For slower work, every 4 hours is fine. Replace the tool if you see wear of 0.1mm.
Can temperature changes really cause dimensional defects?
Yes. Metals like aluminum expand and shrink with heat. Keep your room at 20–25°C and use plenty of coolant to stay accurate.
What’s the fastest way to fix burrs on a finished part?
For a few parts, a handheld deburring knife takes seconds. For big batches, add an automated chamfering path to your CNC program.
Discuss Your Projects with Yigu Rapid Prototyping
Need help with a tricky design? Our team at Yigu Technology specializes in high-precision parts with zero defects. We offer expert advice on material choice and machine settings to ensure your project succeeds. Contact us today for a quote and let’s build something perfect together.