The development of a high-end robot vacuum cleaner is a complex engineering feat. It requires more than just a sleek look; the prototype must validate navigation logic, sensor accuracy, and structural durability. CNC machining stands as the premier method for creating these prototypes because it offers the precision needed for tight mechanical fits and the material versatility to simulate mass-produced parts.
By following a systematic workflow—from 3D modeling to functional debugging—you can transform a design concept into a reliable physical asset. This guide explores the professional steps to ensure your robot vacuum prototype succeeds on the first run.
How to Start with Preliminary Preparation?
The success of your prototype is decided long before the CNC machine starts spinning. Preparation involves setting the digital blueprint and selecting materials that match the final product’s functional needs.
Precise 3D Modeling and Design
Professional software like SolidWorks or UG NX is essential for creating parametric designs. Since robot vacuums are compact (typically 320mm in diameter), every millimeter of internal space counts.
- Appearance Simulation: Your model must include the main body, the top cover, driving wheels, and specific brackets for cliff and collision sensors.
- Assembly Logic: Use snap-fit connections for the dust box to test how easily a user can empty it. Reserve M2 screw holes for secondary fixing to ensure the prototype doesn’t rattle during high-speed wheel tests.
- Tolerance Control: For space navigation to work, the main body diameter needs a tolerance of ±0.1mm, while sensor bracket heights require ±0.03mm to maintain the correct detection angle.
Expert Tip: Skipping the small details, like wiring paths for the cliff sensors, can lead to manual “hacking” later. This usually increases costs by 25% due to the need for re-machining or manual adjustments.
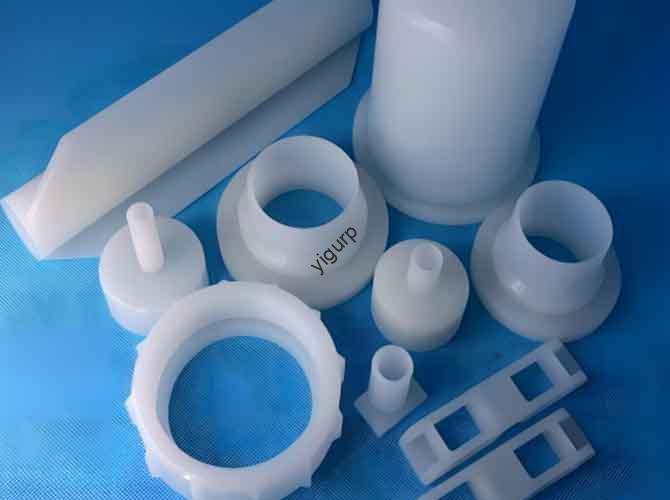
Matching Materials to Component Roles
Choosing the right material ensures the prototype behaves like the final commercial unit.
| Component | Material | Key Property | Cost (per kg) |
| Main Body / Shell | ABS Plastic | Impact resistance, easy to paint | $3–$6 |
| Wheel Frames | Aluminum 6061 | High strength, lightweight | $6–$10 |
| Sensor Covers | Acrylic (PMMA) | ≥90% light transmission | $8–$12 |
| Control Panel | ABS + PC Blend | Heat resistance (up to 80°C) | $4–$7 |
For the load-bearing wheel frames, we always recommend 6061 Aluminum. It provides the rigid support needed for the 1.5–3kg weight of the vacuum, ensuring the wheels don’t bow or misalign over time.
What Happens During the CNC Machining Stage?
This is where the digital files become physical parts. The focus here is on dimensional stability and surface quality.
2.1 Tooling and Machine Setup
A high-precision three-axis or five-axis CNC machine is required. You must use a dual-coolant approach: emulsion for aluminum parts to prevent the metal from “gumming” the tool, and compressed air for plastics like ABS to prevent melting.
2.2 Programming and Simulation Logic
Before cutting, use CAM software like Mastercam to plan the toolpaths.
- Main Body: Use “pocket milling” for the battery compartment and dust box slot.
- Wheel Frames: Prioritize “surface milling” to keep flatness within ≤0.02mm.
- Simulation: Always run a digital collision check. For a robot vacuum, the sensor grooves are often narrow; the simulation ensures the tool doesn’t crash into the bracket walls.
2.3 Executing the Machining Process
Proper clamping is vital. For large, thin-walled parts like the ABS top cover, distribute clamping force evenly (≤40N). If you clamp too hard, the plastic will spring back after machining, ruining your tolerances.
| Material | Machining Stage | Speed (rpm) | Feed Rate (mm/tooth) | Coolant |
| Aluminum | Roughing | 1200–1800 | 0.15–0.3 | Emulsion |
| ABS Plastic | Finishing | 1500–2000 | 0.1–0.2 | Compressed Air |
| Acrylic | Finishing | ≤500 | 0.05–0.1 | Compressed Air |
Warning: Keep Acrylic cutting speeds under 500 rpm. High speeds generate heat that causes “clouding” or micro-cracks, which will blind your infrared sensors.
How to Perfect Post-Processing and Assembly?
Once the parts are machined, they need to be refined for aesthetics and then assembled into a functional unit.
3.1 Refining the Surfaces
- ABS Parts: After sanding with 1200 mesh sandpaper, spray the body with matte PU paint. This simulates the high-end texture consumers expect and hides any micro-tool marks.
- Sensor Covers: These must be polished with acrylic-specific compounds to restore 90%+ transparency. We then apply an anti-scratch film to protect the optics during assembly.
- Metal Frames: Anodizing the aluminum frames in black or silver improves corrosion resistance, which is critical if the robot will be used on damp kitchen floors.
3.2 Strategic Assembly Sequence
Don’t rush. Assemble from the inside out:
- Drive System: Mount the wheels to the main body via bearings. Check for 360° smooth movement.
- Dust Collection: Slide the dust box in. There should be no gaps larger than 0.1mm to prevent suction loss.
- Sensors: Fix the brackets. Ensure collision sensors are at a 45° angle to the front and cliff sensors are flush with the bottom edge.
3.3 Functional Debugging Checklist
| Test Item | Pass Criteria | Method |
| Wheel Movement | No wobbling; moves straight. | 1m manual push test |
| Dust Box Fit | No air leakage; easy extraction. | Air pressure test |
| Brush Rotation | No friction or noise. | Manual spin test |
What Key Precautions Prevent Rework?
To keep your project on schedule, follow these professional safeguards:
- Segmented Processing: When machining the ABS main body, limit continuous cutting to 10–15 minutes. This prevents heat from warping the thin-wall structures.
- Tool Wear Monitoring: Replace finishing tools every 50 hours. Even a tiny amount of wear can increase dimensional error by 0.05mm, which is enough to make a sensor bracket useless.
- Accuracy Compensation: For 1.2mm thin-wall panels, reserve a 0.1–0.2mm machining allowance. This offsets the slight deformation caused by clamping forces.
Yigu Technology’s Perspective
At Yigu Technology, we treat a robot vacuum prototype as a “functionality validator.” We know that navigation and detection are the heart of your brand’s reputation. Our team specializes in five-axis machining for sensor brackets to ensure a ±0.03mm tolerance for perfect alignment.
We also use 3D scanning post-machining to verify every curve of the body, reducing rework rates by 25%. Our focus on these engineering details helps our clients launch their products 1–2 weeks faster than the competition. Whether you need a “look-like” model for a trade show or a “work-like” prototype for software testing, we provide the precision you need.
FAQ
How long does the entire CNC machining robot vacuum prototype process take? The total timeline is usually 10–14 working days. This includes modeling, 3–4 days of actual CNC time, and several days for painting, assembly, and final debugging.
Can I replace acrylic with ABS plastic for sensor covers?No. ABS is opaque. It will block infrared and laser signals, making your robot “blind.” Always use high-transparency Acrylic for any part that covers a sensor.
What causes wheel wobbling in a prototype? This is usually due to uneven wheel frame flatness or misaligned bearing holes. Keeping flatness within ≤0.02mm via surface milling resolves 90% of these movement issues.
Why is 6061 Aluminum preferred over plastic for internal frames? Robot vacuums carry heavy batteries and motors. A plastic frame can sag over time, causing the wheels to tilt. Aluminum 6061 ensures the structure remains rigid, maintaining the correct ground clearance.
How do you prevent dust leakage in the prototype? We use precision groove milling for the dust box seals. By keeping gaps under 0.1mm, we ensure the vacuum maintains its suction power during testing.
Discuss Your Projects with Yigu Rapid Prototyping
Are you ready to bring your robot vacuum design to life? At Yigu Technology, we combine engineering expertise with high-precision CNC machining to deliver prototypes that perform as good as they look.
Would you like me to review your 3D files and provide a free DFM (Design for Manufacturing) analysis for your robot vacuum project?