In the world of metal fabrication, stainless steel is a top choice for its strength and beauty. We use Stainless Steel CNC Bending to create everything from simple brackets to complex medical chassis. However, this material is notoriously stubborn. Its high tensile strength and “memory”—known as springback—often lead to errors like uneven angles or surface scratches.
This guide tackles these challenges head-on. We will break down the five core stages of the process and provide professional solutions to ensure your parts are precise every time.
1. Design Phase: How to Avoid Cracks?
A great part starts on the drawing board. If you design a part that ignores the physical limits of stainless steel, even the best machine will fail. The goal is to design for manufacturability.
Solve Problems Before They Start
Stainless steel is rigid. If you try to bend it too tightly, the outer grain will stretch and crack. Follow these standard rules:
| Design Problem | The Consequence | The Pro Solution |
| Tight Bends | Cracking or uneven angles | Use a radius of at least 1.5x material thickness. |
| Holes Near Bends | Holes will stretch or deform | Keep holes at least 3x material thickness away. |
| Complex Patterns | High risk of tool collision | Split complex shapes into separate sections. |
Expert Tip: If your project requires a very tight bend, use annealed stainless steel. This heat-treated version is softer, reducing springback by 30% to 40%.
2. Programming Phase: Can You Beat Springback?
Stainless steel has a “memory.” When the machine releases the part, it “bounces back” by about 5° to 10°. Programming is your best defense against this issue.
Rules for Accurate Coding
- Calculate Springback: If you need a 90° angle, you must program the press brake to bend to roughly 95°. The material will then relax into the correct position.
- Prototype First: Never start a full batch immediately. Bend a small piece of scrap and measure it with a digital protractor.
- Inside-Out Order: For U-shaped parts, always bend the inner angles first. This prevents the part from hitting the machine frame during later steps.
3. Preparation Stage: Are Your Settings Correct?
Stainless steel requires much more power than aluminum or mild steel. If your settings are wrong, you risk damaging your press brake or the part itself.
Setting Your Parameters
| Parameter | Recommendation (304/316 Steel) | Why It Matters |
| Bending Force | 1.5x higher than mild steel | Needed to overcome the material’s rigidity. |
| Tool Speed | 5–8 mm/s | Slower speeds prevent surface “heat” marks. |
| Backgauge | Calibrate to ±0.1 mm | Prevents the part from being crooked. |
Pro Note: Always clean your tools. Small metal shavings can get trapped between the tool and the part. These shavings act like sandpaper, causing deep surface scratches.
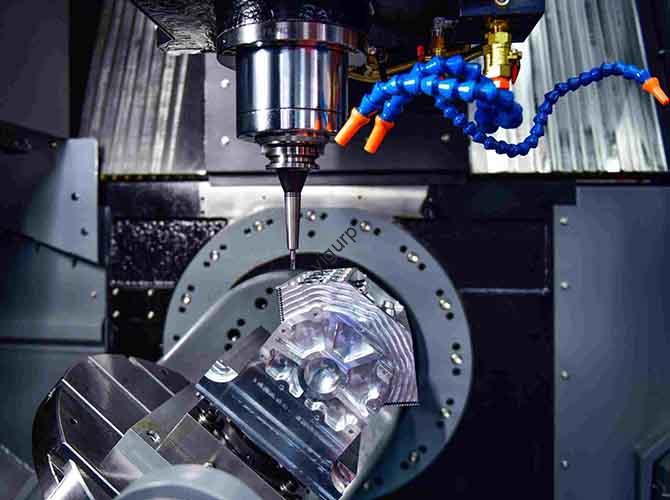
4. Processing Stage: Which Tools Work Best?
Using the wrong tool will ruin a polished finish. Since stainless steel is hard, it can wear down cheap tools quickly, leading to uneven bends.
Choose the Right Tooling
- Chrome-Plated Punches: These are best for parts where the look matters. The chrome finish prevents the steel from “sticking” to the tool.
- High-Strength Steel Dies: Best for thick plates (over 4 mm). These can handle the extreme pressure without cracking.
- Anti-Scratch Pads: These are cloth or plastic strips you place on the die. They act as a cushion to stop tool marks.
5. Quality Control: How to Stay Consistent?
Consistency is the hallmark of a pro. Without regular checks, a tiny error in part one can become a disaster by part fifty.
Your 3-Step Quality Checklist
- In-Process Checks: Measure every 10th part. If you notice the angle shifting by even 1°, adjust your code immediately.
- Flatness Testing: For containers or lids, place the part on a surface plate. If you can see light under the edge, the bend is uneven.
- Tool Inspection: Check your punch for dents every 100 bends. A dented tool will create a “ghost” mark on every part it touches.
Conclusion
Stainless Steel CNC Bending is a science of balance. You must balance the force of the machine with the unique “memory” of the metal. By focusing on springback compensation, proper tool selection, and slow, steady processing speeds, you can achieve world-class results. Precision isn’t just about the machine—it’s about how you prepare for the material’s strength.
FAQ
How do I remove scratches after bending?
If you see light marks, use a 400-grit sandpaper or a specialized stainless steel polish. To prevent this in the future, always use anti-scratch pads during the bend.
Can I bend very thin stainless steel (0.5 mm)?
Yes. However, you must use a very small punch and lower your bending force to avoid wrinkling the metal. Keep your speed slow—around 3 mm/s.
Why is my angle different at the start and end of a batch?
This usually means your tool is heating up or wearing down. Heat can change the friction levels. Check your die for wear and ensure your machine’s hydraulic oil is at the right temperature.
Discuss Your Projects with Yigu Rapid Prototyping
At Yigu Technology, we specialize in the “tough” jobs. We understand that stainless steel requires a gentle touch and heavy-duty equipment. Our CNC press brakes feature built-in profiles that automatically calculate springback for you, saving time and reducing scrap. Whether you need a single prototype or a massive production run, we are here to help. Would you like me to analyze your 3D files to see if your current bend radii are safe for stainless steel?