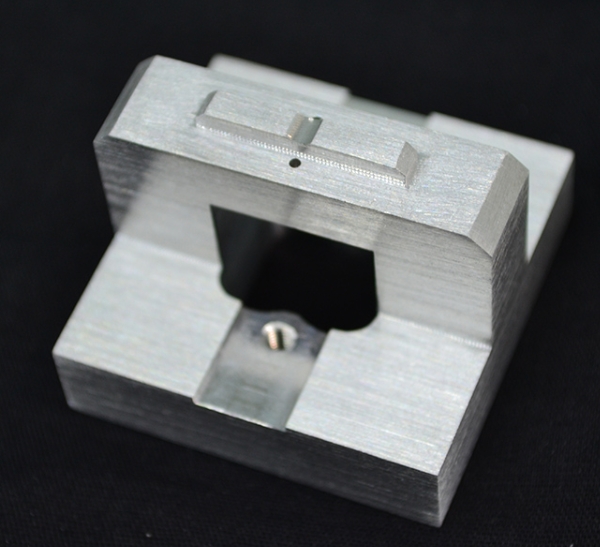
Machining a CNC metal prototype is only the first step. Even the best machines leave tiny flaws. You might see tool marks, rough edges, or small burrs. These flaws can ruin the look and the fit of your part. Polishing is the vital post-processing step that fixes these issues. It makes your prototype look professional and work better. It also reduces friction and helps stop rust. This guide explains how to get the best surface for your project.
What Are Common Polishing Methods?
There are many ways to polish a CNC metal prototype. Your choice depends on the material and the shape of the part. Here is a look at the most common techniques used today.
Manual and Mechanical Polishing
Manual polishing uses hand tools like sandpaper or files. It is perfect for complex shapes or very small batches. I once worked on a custom aluminum housing for a drone. The curves were too tight for a machine. We used hand tools to reach every corner. For simpler shapes, mechanical polishing uses automated wheels. It is faster and works well for medium batches of 15 to 50 parts.
Vibration and Sandblasting Techniques
Vibration polishing puts parts in a tub with abrasive stones. The tub shakes to smooth the metal. It is great for large batches of 50 parts or more. If you want a matte look, try sandblasting. This sprays sand or glass beads at high pressure. It removes flaws quickly and creates a uniform, clean texture.
Advanced Chemical and Laser Polishing
For precision prototypes in the medical field, we use electrolytic polishing. It uses electricity to dissolve tiny surface peaks. This creates a mirror finish with an Ra value as low as 0.02 μm. Laser polishing is the newest tech. A laser melts a thin layer of the surface to smooth it out. It is very fast and works for ultra-precision parts.
Detailed Polishing Comparison Table
| Method | Best Use Case | Surface Finish (Ra, μm) | Cost Level |
| Manual | Complex shapes | 0.4 – 1.6 | Low |
| Mechanical | Flat surfaces | 0.2 – 1.2 | Medium |
| Vibration | Large batches | 0.3 – 1.5 | Medium |
| Sandblasting | Matte texture | 0.5 – 3.2 | Low-Medium |
| Electrolytic | Mirror finish | 0.02 – 0.2 | High |
| Chemical | Internal holes | 0.1 – 0.8 | Medium |
| Laser | Ultra-precision | 0.01 – 0.1 | Very High |
| Ultrasonic | Tiny slots | 0.05 – 0.5 | Medium-High |
Which Method Fits Your Project?
Choosing the wrong method can waste money. It can even ruin a delicate CNC metal prototype. Look at these four factors to make the right choice.
Check the Prototype Material
Soft metals like aluminum can deform under high pressure. Avoid harsh sandblasting for these parts. Hard metals like stainless steel or titanium need stronger methods. Use mechanical or laser polishing for these tough materials.
Consider the Surface Goal
Do you need a mirror finish for a medical tool? Go with electrolytic polishing. If you just want a clean, matte look for a car part, sandblasting is enough. Always match the method to the final use of the part.
Think About Batch Size
For just one or two parts, manual polishing is the cheapest way. It takes time but saves on machine setup. If you have 50 parts, use a vibration machine. It polishes everything at once while you do other tasks.
How Can You Get Better Results?
Expert polishing requires more than just the right machine. Follow these tips to avoid common mistakes.
Start with the Right Grit
Always move from coarse to fine. If you start with 80-grit, do not jump straight to 1000-grit. You will leave deep scratches behind. Move through the steps slowly. This ensures a deep, even shine on your CNC metal prototype.
Apply Even Pressure
When polishing by hand, keep your pressure steady. Too much force creates low spots. For machines, keep the speed between 1500 and 3000 RPM. Higher speeds are for the final shine. Lower speeds work best for removing big marks.
Clean Parts Between Steps
Leftover grit can scratch your part in the next stage. Use alcohol or ultrasonic cleaning to wash the part. This removes every tiny piece of dust. This step is vital for a high-quality finish.
Conclusion
Polishing turns a raw CNC metal prototype into a finished product. Whether you choose manual work or laser tech, the goal is the same. You want a part that looks great and fits perfectly. By picking the right method for your material and batch size, you save time and money. Remember to start with a good grit and clean your parts often.
FAQ About CNC Metal Polishing
Q1: Can I use one method for all metals?
No. Every metal is different. Chemical polishing might help aluminum but could hurt steel. Always check the material compatibility first.
Q2: How long does polishing usually take?
It varies. A small part might take one hour by hand. A large batch in a vibration tub might take four hours. High-tech laser polishing is much faster but costs more.
Q3: Is polishing needed for test parts?
Yes. Rough surfaces can change test results. They might cause more friction or hide tiny cracks. A polished part gives you more accurate data.
Discuss Your Projects with Yigu Rapid Prototyping
At Yigu Technology, we treat polishing as a way to boost value. We match our methods to your specific project needs. For complex parts, we use precision manual work. For large runs, we use vibration polishing and ultrasonic cleaning. We specialize in electrolytic polishing for medical and aerospace parts. Our goal is to make your CNC metal prototype look and perform its best.