If you are a procurement professional sourcing custom parts or an engineer refining a new design, you know that the bridge from concept to reality is often paved with prototypes. CNC machining prototype processes are the cornerstone of modern product development. Unlike traditional manual work, Computer Numerical Control (CNC) uses high-speed automation to turn a digital file into a physical masterpiece.
Getting this process right ensures your parts are high-quality, cost-effective, and delivered on time. This guide offers a deep dive into every step of the journey—from choosing your parts to archiving your data for future success. Let’s explore how you can streamline your manufacturing and avoid the common traps that stall production.
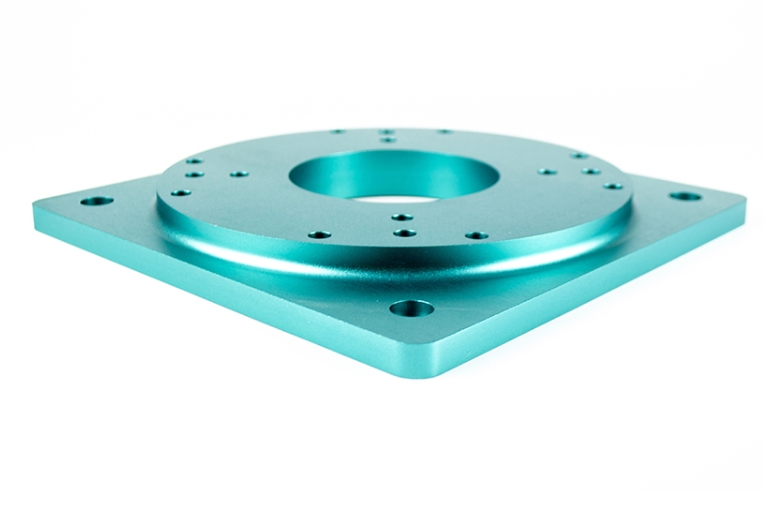
Which Parts Are Best Suited for CNC Machining?
The first decision in any project is choosing the right manufacturing method. Not every part needs the precision of a CNC mill. For simple plastic covers, 3D printing might save you money. However, when your project demands tight tolerances or high material strength, CNC is the undisputed king.
Setting the Selection Criteria
We often work with clients who need to decide between additive manufacturing (3D printing) and subtractive manufacturing (CNC). A medical device firm once approached us to build a prototype for a new surgical handle. They considered 3D printing but realized that the tiny layer lines could trap bacteria. By choosing CNC machining, they achieved a sterile, uniform finish and holes that aligned perfectly with the internal sensors.
Use the table below to see if your part is a good candidate for CNC:
| Factor | Why It Matters for Prototypes | Ideal for CNC? |
| Tolerance Needs | Precision requirements (±0.0005 to ±0.005 inches). | Yes |
| Material Hardness | Use of metals (aluminum, steel) or rigid PEEK plastic. | Yes |
| Surface Finish | Requirements for smooth, burr-free surfaces (Ra 0.8–3.2 μm). | Yes |
| Mechanical Strength | Parts that must withstand heat, pressure, or weight. | Yes |
How Do You Prepare a Design for CNC Success?
Once you select your parts, you must perform a thorough process analysis. This step involves looking at your 2D and 3D drawings to ensure a machine can actually “see” and reach every feature. It is about catching mistakes on paper before they become expensive errors in metal.
Checking for “Cnc-Readiness”
A common issue we see is the “hidden undercut.” Imagine a gear for an electric vehicle. If the gear has a deep internal groove that a standard tool cannot reach, you either have to redesign the part or pay for a custom tool.
In one real-world case, an automotive startup saved two weeks of lead time simply by widening a small undercut from 0.5mm to 1mm during this stage. This allowed them to use a standard tool already in the shop.
Key checks during your analysis should include:
- Are all dimensions like diameter and depth clearly labeled?
- Do your internal corner radii match the size of standard CNC end mills?
- Is the wall thickness enough to prevent bending during the cut?
What Does a Smart Process Roadmap Look Like?
Process design is the phase where you build the “blueprint” for the machine. You decide which side to cut first, which tools to use, and how fast the machine should spin. For a prototype, the goal is stability over sheer speed.
Defining Cutting Parameters
When we make an aluminum phone case prototype, we don’t just start cutting. We prioritize the outer shape first to give the CNC vice a solid place to grip the material. Then, we drill the camera holes. This sequence prevents the thin metal from warping under the heat of the drill.
Below are the standard “starting points” for common prototype materials:
| Material | Spindle Speed (RPM) | Feed Rate (IPM) | Depth of Cut (inches) |
| Aluminum 6061 | 3,000 – 6,000 | 50 – 200 | 0.1 – 0.25 |
| Stainless Steel 304 | 1,000 – 3,000 | 20 – 80 | 0.05 – 0.15 |
| PEEK Plastic | 2,000 – 4,000 | 30 – 100 | 0.08 – 0.2 |
How Are Tool Paths Calculated and Programmed?
CNC machines don’t understand “circles” or “squares”; they only understand X, Y, and Z coordinates. This stage, often called mathematical processing, uses CAD/CAM software to plot the exact path the tool will follow.
The Power of G-Code
Every point where the tool changes direction must be calculated. A tiny error here—even as small as 0.002 inches—can mean your prototype won’t fit into its assembly. Once the paths are set, we write the G-code. This is the language that tells the machine when to turn on the coolant, when to change a tool, and how fast to move.
Engineer’s Tip: For prototypes, keep your code simple. Avoid “clever” shortcuts. Simple code is much easier to fix if you need to make a quick design change during the trial run.
Why Is Program Validation the Most Important Step?
You should never hit the “Start” button on a CNC machine without validating the program first. This is where we catch typos that could cause a catastrophic machine crash.
Using Simulation Tools
We use simulation software to “test run” the code on a screen. A robotics company we work with once found that their code was telling the tool to plunge 0.5 inches too deep. If they had run that on the machine, they would have broken a $200 aluminum block and a $150 tool. Checking the code took 20 minutes; fixing the damage would have taken days.
What Happens During the Trial Processing Phase?
Trial processing is the moment of truth. This is when we run the program on the actual material for the first time. It is rare for a prototype to be 100% perfect on the very first try, and that is okay.
Refining the First Part
During a trial run, we look for three main things:
- Burrs: If the edges are rough, we might slow down the feed rate.
- Size: If a hole is too small, we tweak the tool offset coordinates.
- Finish: If the surface looks “cloudy,” we might change the tool type or the coolant flow.
Data shows that roughly 78% of CNC prototypes require at least one minor adjustment during the trial run. This “tinkering” is exactly what makes the final part meet your high standards.
Why Is Finalization and Archiving Critical?
Once your prototype passes inspection—usually with a Coordinate Measuring Machine (CMM)—the job isn’t quite finished. You must finalize the process and archive the files.
Protecting Your Intellectual Property
Archiving means saving the finalized G-code, the tool list, and the exact cutting speeds used. If you need 10 more parts next month, you don’t want to start from scratch. One aerospace client reported that reusing archived programs cut their lead time for repeat orders by 30%. It ensures that “Part 2” is an exact twin of “Part 1.”
Yigu Technology’s Perspective on Prototypes
At Yigu Technology, we view CNC machining prototypes as more than just “test parts.” They are the bridge to your market success. We focus on the specific needs of the prototype phase: speed and flexibility.
We offer a fast turnaround, typically getting parts in your hands within 5 to 7 days. Our process is built on transparency. We share our trial reports and archived data with your team so you have a clear record of quality. By controlling tolerances down to ±0.0005 inches, we help our clients launch products 20% faster than the industry average. We don’t just make parts; we solve manufacturing puzzles.
FAQ: Your Questions Answered
How long does it take to make a CNC prototype?
Most parts take 5 to 10 days. A simple aluminum bracket might take only 3 days. A complex gear with many features requires more time for trial runs and might take closer to 12 days.
Is CNC machining more expensive than 3D printing?
For small, non-functional plastic parts, 3D printing is cheaper. However, for metal parts or anything that needs a tight fit, CNC is more cost-effective. It saves you from the “hidden costs” of sanding and finishing 3D-printed layers.
What are the best materials for a prototype?
Aluminum 6061 is the top choice for its weight and ease of cutting. Stainless steel 304 is best for durability. For high-heat or medical needs, PEEK plastic is excellent.
Can I change my design after the process starts?
Yes, that is the beauty of CNC. Because it is software-based, we can update the G-code and tool paths relatively quickly compared to changing a physical mold or die.
Discuss Your Projects with Yigu Rapid Prototyping
Are you ready to turn your CAD drawings into high-precision reality? At Yigu Technology, our product engineers are standing by to help you optimize your CNC machining prototype process. Whether you need a single functional model or a small batch for testing, we deliver the accuracy your project deserves.
Would you like us to provide a free DFM (Design for Manufacturability) analysis for your next prototype? Contact us today, and let’s get your project moving.