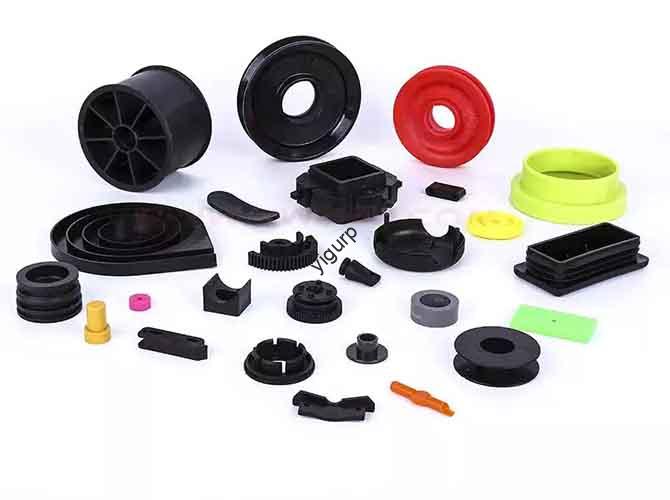
If you work in packaging, automotive, or medical fields, you probably know Polypropylene (PP). It is a star thermoplastic. People love it for its chemical stability, low cost, and how light it feels. However, many engineers face a common wall when it involves CNC machining PP materials.
Because PP has a low melting point and is quite soft, it can be a nightmare if you use the wrong settings. You might end up with melted edges, warped parts, or fuzzy surfaces that fail inspection. This guide serves as your practical roadmap. We will break down the “how-to” of precision machining for PP, from tool selection to troubleshooting, ensuring your parts are both efficient and high-quality.
What Are the Key Properties of PP Materials?
Before you touch the machine, you must know your material. PP is not like metal. It reacts differently to heat and pressure. Understanding these traits helps you avoid the most common machining errors.
Critical Properties and Their Impact
| Property Category | Key Characteristics | Impact on CNC Machining |
| Processability | Easy to cut and shape. | Allows for fast production of complex parts. |
| Melting Point | Low (160–170°C). | High risk of melting or sticking to the tool. |
| Chemical Stability | Resists acids and solvents. | Ideal for lab gear; no post-coating needed. |
| Mechanical Strength | Moderate (30–40MPa). | Soft; easy to deform if clamped too hard. |
| Density | Very low (0.90–0.91g/cm³). | Lightweight; easy to handle and load. |
Real-World Case: A client once ordered a custom chemical beaker made of PP. Because of its chemical stability, the beaker worked perfectly with acidic solutions. However, the first batch melted during production. Why? The technician ran the spindle too fast. By lowering the speed and using a sharper tool, the thin walls stayed solid and clean.
How to Choose the Right Equipment and Tools?
Using the wrong tool for PP is like trying to cut bread with a spoon. You might get through it, but it will be messy. Over 70% of machining failures in PP are caused by bad tool or machine choices.
1. Selecting the Right CNC Machine
Your machine should match the size and shape of your part.
- Vertical Machining Centers (VMC): Best for small-to-medium parts like electrical connectors. They offer high precision (±0.01mm).
- CNC Routers: These are perfect for large, flat PP sheets used in packaging or automotive dash panels.
- CNC Lathes: Use these for round parts, such as lab tubes or plastic pipes.
2. Picking the Best Cutting Tools
PP is soft, so your tools need to be “razor-sharp.” Dull tools create friction, and friction creates heat. Heat is the enemy of PP.
- HSS (High-Speed Steel): Good for small runs. It is very sharp but wears out faster than carbide.
- Carbide Tools: These are the gold standard for long production runs. They stay sharp for up to 400 parts, while HSS might only last for 150.
- Single-Flute End Mills: These are highly recommended for PP. They have more space to clear out chips, which keeps the cutting area cool.
Step-by-Step CNC Machining Process for PP
Following a structured workflow ensures that every part you make is as good as the first one. Don’t skip these steps.
1. Pre-Machining: Design and Preparation
Success starts on the computer. Use CAD software like SolidWorks to build your model. When you move to CAM software, focus on the tool path.
- Nesting: Arrange your parts closely on the PP sheet to cut material waste by 15–20%.
- Cleaning: Always wipe your PP sheets before starting. Static electricity makes dust stick to PP.
Expert Tip: A manufacturer once ignored dust on their PP sheets. The static dust got caught in the cut, leading to 20 scrapped parts. It cost them two hours of rework and extra material fees. Clean your material first!
2. Machining Execution: The Critical Controls
This is where the actual work happens. You must control three things: Clamping, Parameters, and Cooling.
- Clamping: Keep the force low (5–10N). If you squeeze PP too hard, it will “spring back” once you release it, ruining your dimensions. Use soft jaws made of rubber to prevent surface marks.
- Cutting Parameters:
- Speed: Aim for 1,500–3,000 RPM for HSS tools.
- Feed Rate: Keep it between 100–250 mm/min.
- Depth: Cut 1–3 mm per pass.
- Cooling: Use constant air cooling for small parts. For large parts, use a water-based coolant to drop the tool temperature by up to 40%.
3. Post-Machining: The Finishing Touch
Once the part is off the machine, it is not quite finished.
- Deburring: Use 400–800 mesh sandpaper to smooth out edges. This is vital for medical or consumer products.
- Inspection: Use calipers to check your work. A standard target is a tolerance of ±0.1mm.
Troubleshooting Common PP Machining Issues
Even pros run into trouble. Use this table to fix issues fast:
| Issue | Likely Cause | Solution |
| Melting Edges | Speed is too high. | Reduce speed by 500 RPM and check tool sharpness. |
| Part Deformation | Clamping is too tight. | Lower clamping force and reduce the cut depth. |
| Fuzzy Surfaces | Feed rate is too slow. | Increase feed rate to move the tool through the material faster. |
| Static Dust | Static electricity. | Use an anti-static spray or an ionizer in your workspace. |
Yigu Technology’s Perspective on PP Machining
At Yigu Technology, we believe PP is one of the best materials for lightweight, chemical-resistant projects. However, the “low melting point” trap is real. We advise our clients to always prioritize chip removal. If the chips stay in the cut, they will melt.
We are currently building PP-specific presets into our machines. This has helped us cut setup times by 40%. For our customers, this means faster delivery and fewer defects. Whether you are making a single prototype or a batch of 100, starting with carbide tools and a mid-range speed of 2,200 RPM is usually your safest bet.
FAQ
Can I machine very thin PP sheets (under 1mm)?
Yes, you can. Use a CNC router with a small carbide mill. Secure the sheet with double-sided tape to stop it from shifting. Keep your feed rate slow (80–100 mm/min) and use air cooling to keep it from melting.
How do I stop PP chips from sticking to the drill bit?
Try applying a light coat of graphite powder or a dry lubricant to the tool. Also, increase your feed rate slightly. This forces the chips out of the hole before they have a chance to get hot and sticky.
Is CNC machining cheaper than injection molding for PP?
It depends on the quantity. For 1 to 100 parts, CNC is much cheaper because you don’t need to pay for an expensive mold (which can cost $10,000+). For over 1,000 parts, injection molding is usually the better choice.
What is the best way to clean PP parts after machining?
Use isopropyl alcohol. It removes coolant and dust without damaging the plastic. Avoid harsh industrial cleaners that might cloud the surface.
Discuss Your Projects with Yigu Rapid Prototyping
Are you looking for a partner who understands the fine details of CNC machining PP materials? At Yigu Technology, we combine engineering expertise with high-speed production. We are here to help you turn your plastic designs into precise, functional realities.
Would you like us to review your design for a free quote? Let’s make your next PP project a success.