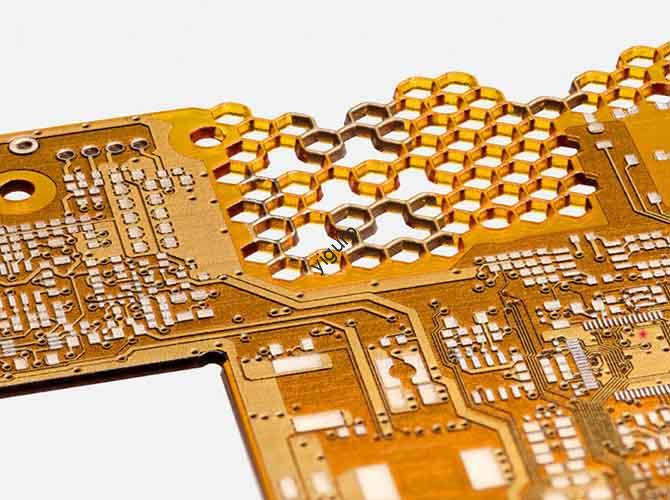
Are you struggling to find a way to make metal parts that are precise, fast, and complex? CNC machining hardware is the answer. This computer-controlled process turns raw metal into exact components for industries like aerospace and medical devices. By using digital designs to guide cutting tools, it removes the risk of human error. This guide will show you how this process works, why it beats old methods, and how to choose the right partner for your project.
Why Is CNC Hardware Better Than Manual Tools?
Old-school manual machining relies on a person’s hands. CNC machining hardware relies on code. This shift changes everything from part accuracy to how fast you can get your product to market.
Comparing CNC vs. Manual Machining
The table below shows why modern shops have moved away from manual lathes and mills:
| Advantage | CNC Machining Hardware | Traditional Manual Machining |
| Precision | Errors as low as ±0.005mm | Errors often ≥0.1mm |
| Surface Finish | Smooth results (Ra < 1.6μm) | Uneven or rough finish |
| Efficiency | Runs 24/7 without breaks | Limited by worker fatigue |
| Consistency | 99.5% defect-free rate | Frequent part-to-part variation |
| Complexity | Handles 3D curves easily | Struggles with non-linear shapes |
For example, in the automotive industry, an engine cylinder head has over 12 holes. Each must align within 0.01mm. Manual work would take three times longer and risk leaks. CNC makes it perfect every time.
What Is the Step-by-Step CNC Workflow?
Getting a hardware part right requires a strict three-stage path. If you skip a step, you waste expensive metal.
How Do You Prepare for Machining?
Everything starts with a 3D model. You create this in CAD software like SolidWorks. You must pick your material early, such as Aluminum 6061 or Stainless Steel 304.
Next is CNC programming. An engineer turns your 3D model into G-code. This code tells the machine the cutting speed. For steel, we use 100-300m/min. For aluminum, we go faster at 300-500m/min. Finally, we use a custom fixture to hold the metal block. Even a 0.05mm shift during cutting can ruin the part.
What Happens During the Cutting Phase?
The machine cuts in layers to keep the metal stable:
- Roughing: This removes bulk material quickly. It turns a large block into a basic shape.
- Semi-Finishing: This trims the part closer to the final size. It smooths the surface for the last pass.
- Finishing: This uses slow speeds to get the exact micrometer precision. It ensures no tool marks are left behind.
How Is the Final Quality Checked?
After cutting, the part undergoes deburring to remove sharp edges. We then apply surface treatments like anodizing for color or electroplating for strength. Finally, we use 3D scanners to verify the dimensions. If a hole is 0.02mm too small, the part is fixed or recycled.
Where Do We Use CNC Hardware Most?
Precision metal parts are the backbone of many high-tech fields. CNC is the only way to meet their strict safety standards.
- Aerospace: We make turbine blades that must handle 1000°C. CNC ensures the metal stays strong.
- Medical: For hip implants, we use biocompatible steel. A 0.01mm error could cause surgery failure.
- Electronics: Your smartphone frame is a CNC masterpiece. It requires high consistency for millions of units.
- Automotive: Brake calipers need high wear resistance. CNC allows for mass production of 500+ parts per hour.
Case Study: A medical firm needed 500 hip stems. By using CNC, they kept a 0.01mm tolerance for every piece. This kept the patients safe and avoided any product recalls.
How Does Yigu Technology Ensure Success?
At Yigu Technology, we see CNC machining hardware as more than just cutting metal. It is about reliability. Our clients see a 35% boost in production speed. We use Fanuc 0i-MF systems and 5-axis machines to reach ±0.003mm accuracy.
We also focus on your budget. By optimizing the tool paths, we help small businesses cut costs by 25%. Whether you need one part or a thousand, we focus on the balance of speed and precision.
Conclusion
CNC machining hardware is the best way to build complex, high-quality metal parts. It offers better precision, faster speeds, and lower defect rates than manual work. By following a clear workflow from CAD modeling to final quality checks, you can ensure your project succeeds.
FAQ About CNC Machining Hardware
How long does a CNC hardware project take?
Simple parts like brackets take 1-3 days. Complex items like medical implants take 5-10 days because they need custom fixtures.
Is CNC hardware more expensive than 3D printing?
For just 1 or 2 parts, 3D printing might be cheaper. For 100+ parts, CNC is 20-30% cheaper because it is faster and wastes less material.
What should I look for in a manufacturer?
Check if they have 5-axis machines. Ask for their quality control steps. A good shop will offer 100% inspection for critical parts.
Discuss Your Projects with Yigu Rapid Prototyping
Ready to start your next metal project? Our team is here to help you move from design to finished part in record time. We provide expert advice on material selection and cost reduction. Contact us today to get a quote and see how our CNC hardware solutions can power your business.