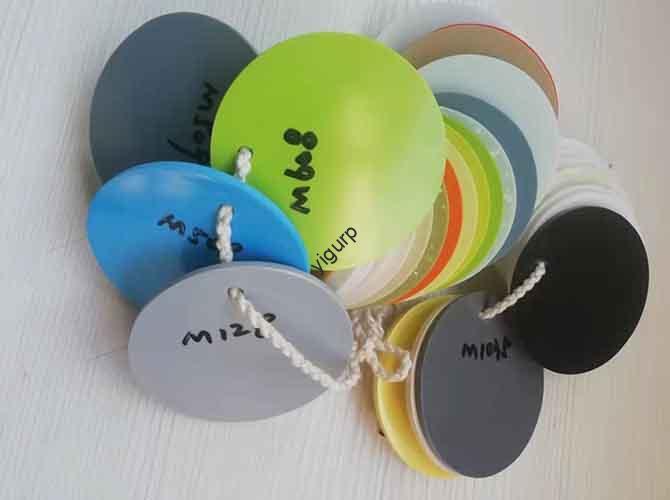
If you’ve ever struggled with removing support structures from 3D prints—scratching delicate parts, using harsh chemicals, or leaving messy residues—you’re not alone. The solution? 3D printing PVA materials. Polyvinyl Alcohol (PVA) stands out as a game-changing support material, thanks to its unique traits that solve common 3D printing headaches. Let’s dive into how it works, how to use it, and why it’s a must-have for complex designs.
1. Core Properties of 3D Printing PVA Materials
What makes PVA so special for 3D printing? Its four key properties address the biggest pain points of support materials. The table below breaks them down:
| Property | Description | Problem It Solves |
| Water Solubility | Dissolves completely in water; rate depends on water temperature (faster in warm water) and flow speed. | Eliminates the need for chemical solvents or manual scraping to remove supports. |
| Biocompatibility & Degradability | Non-toxic, safe for contact with human tissue; biodegradable (breaks down naturally over time). | Enables use in medical/healthcare applications (e.g., surgical guides) and reduces environmental waste. |
| Strong Adhesion | Bonds tightly with thermoplastics like PLA, CPE, and nylon—no support separation mid-print. | Prevents support failure during printing of complex parts (e.g., overhangs, internal cavities). |
| Physical Durability | Transparent to off-white appearance; odorless, non-toxic; brittle texture but high tensile strength (22MPa) and elongation (360%). | Supports hold shape during printing but are easy to dissolve afterward—no damage to the final part. |
2. Critical Usage Conditions for 3D Printing PVA
To get the best results with PVA, you need to nail three key settings. Get these wrong, and you’ll face issues like poor adhesion, brittle supports, or failed prints. Here’s how to set them correctly:
2.1 Nozzle Temperature: 180–200°C
PVA melts smoothly in this range, but always check the manufacturer’s recommendations—different brands may vary (e.g., a high-purity PVA might work best at 185°C, while a blended PVA could need 195°C).
Why it matters: Too low (below 180°C) = PVA won’t melt fully, leading to stringing. Too high (above 200°C) = PVA may degrade, causing clogs in the nozzle.
2.2 Bed Temperature: 45–60°C
A warm bed ensures PVA sticks firmly during printing. For example:
- When printing a PLA part with PVA supports, set the bed to 50°C—this keeps both materials anchored without warping.
- For nylon parts (which need higher bed temps), bump the bed to 60°C to match nylon’s requirements while keeping PVA stable.
2.3 Cooling: Partial Fan Use Only
PVA needs gentle cooling—never use full fan power. Here’s the rule:
- Turn on the cooling fan to 30–40% after the first 2–3 layers.
- Avoid cooling overhangs too much—excessive cooling makes PVA brittle, causing supports to snap mid-print.
Example: A user printing a complex chess piece with PVA supports used full fan cooling and saw supports break at the knight’s neck. Switching to 35% fan power fixed the issue.
3. Storage: How to Keep PVA Dry (And Effective)
PVA has strong deliquescence—it soaks up moisture from the air like a sponge. Moist PVA causes:
- Stringing during printing.
- Poor layer adhesion.
- Nozzle clogs.
Follow this 3-step storage process to keep PVA in top shape:
- Seal Immediately: After use, put unused PVA filament back into its original airtight bag.
- Add Desiccants: Place 2–3 silica gel packs in the bag to absorb residual moisture.
- Store in a Cool, Dry Place: Keep the bag away from windows (sunlight) or sinks (humidity). A closet or storage box works perfectly.
Pro tip: If your PVA feels damp (it may feel sticky to the touch), dry it in a filament dryer at 40–45°C for 2–4 hours before use.
4. Applications: Where PVA Shines Brightest
PVA’s biggest strength is enabling complex prints that other support materials can’t handle. Here are three key use cases:
4.1 Complex Geometries & Internal Cavities
Imagine printing a model of a human heart with internal blood vessel channels—PVA supports fill those channels, then dissolve in water, leaving a clean, hollow structure. Without PVA, you’d have to drill out supports (destroying the delicate channels).
4.2 Concept Models & Prototypes
Designers love PVA for rapid prototyping. For example, a toy company used PVA to print a prototype of a puzzle with interlocking pieces—PVA supports held the pieces in place during printing, and dissolving them revealed a fully functional puzzle in just 24 hours.
4.3 Medical & Healthcare Parts
Thanks to its biocompatibility, PVA is used for medical tools like custom surgical guides. A hospital printed a guide for knee surgery using PLA (for the main structure) and PVA (for supports). After surgery, the guide was dissolved in water—no waste, no risk of leaving support fragments in the body.
5. Yigu Technology’s Perspective
At Yigu Technology, we recommend PVA to clients working on complex designs—from aerospace components to medical devices. Its water solubility eliminates post-printing hassle, and its adhesion to PLA/nylon ensures reliable prints. The biggest mistake we see? Poor storage—moist PVA is the #1 cause of failed support prints. We always advise clients to invest in a filament dryer and airtight storage containers—it’s a small cost that saves hours of reprinting. PVA isn’t just a support material; it’s a tool to unlock design freedom.
FAQ
- Can PVA be used with all 3D printers?
Yes, but it works best with FDM (Fused Deposition Modeling) printers (the most common type). Resin printers don’t use filament, so PVA isn’t compatible with them.
- How long does it take to dissolve PVA supports?
It depends on water temperature: Warm water (40–50°C) dissolves supports in 30–60 minutes; cold water takes 2–3 hours. Agitating the water (e.g., using a stirrer) speeds up the process.
- Is PVA safe for food-contact parts?
Most 3D printing PVA is non-toxic, but check the manufacturer’s specs—look for “food-grade” certification if you’re printing parts like cookie cutters or utensils. Non-food-grade PVA may have additives that aren’t safe for food contact.
