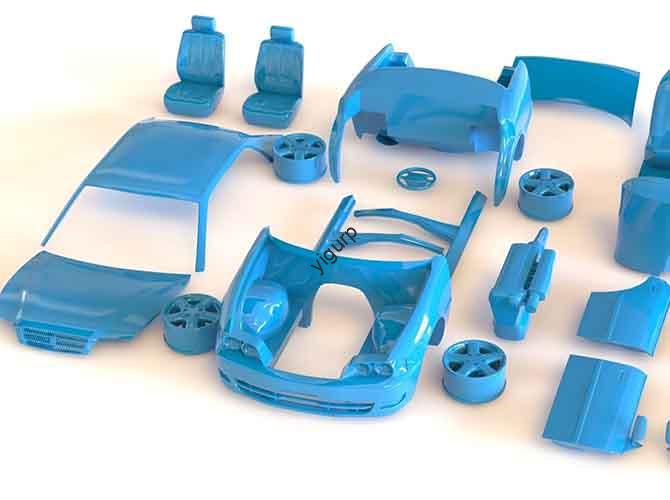
3Impressão D with PLA is popular for its ease of use and low cost, mas mesmo as melhores impressões PLA ficam aquém se você não conseguir colá-las corretamente. A questão é: qual cola funciona melhor para impressão 3D PLA? Esteja você fazendo um modelo de hobby, uma parte funcional, ou uma peça decorativa, the right adhesive can make or break your project. This guide breaks down the top glues for PLA, seus prós e contras, e como escolher o perfeito.
1. Top Glues for 3D Printing PLA: Uma comparação lado a lado
Not all glues are created equal—some excel at speed, others at strength or durability. Use this table to quickly find the right fit for your needs:
| Glue Type | Key Ingredients | Tempo de cura | Bond Strength | Melhor para | Limitações |
| Instant Adhesive | Cyanoacrylate | 10-60 segundos | Alto | Peças pequenas, quick repairs (por exemplo, toy fixes) | Poor water/temp resistance (fails above 60°C) |
| Epoxy Glue | Resina epóxi + agente de cura | 1-24 horas | Muito alto | Peças grandes, heavy-duty use (por exemplo, cabos de ferramentas) | Long cure time; messy to mix |
| Hot Melt Adhesive | Thermoplastic polymers | 10-30 segundos | Médio | Handmade crafts, large-area bonding (por exemplo, caixas de armazenamento) | Softens in heat (loses strength above 50°C) |
| Modified Silicone | Silicon oxide chains | 4-8 horas | Médio-alto | Outdoor/weather-exposed parts (por exemplo, garden decor) | Low initial bond; needs clamping |
| Acrylic Glue | Methyl methacrylate | 30 minutes-2 hours | Alto | Clear parts (por exemplo, vitrines) | Strong fumes; requires ventilation |
2. Deep Dive: How to Use Each Glue for PLA Success
Instant Adhesive: The “Quick Fix” Option
Imagine you’re repairing a small PLA toy car—you don’t want to wait hours for glue to dry. É onde instant adhesive brilha.
- How to use it: Apply a tiny drop (a little goes a long way!) to one PLA surface, press the parts together for 10-20 segundos, and you’re done.
- Para uma dica: For extra strength, lightly sand the PLA surface first—this helps the glue grip better.
- Exemplo: A hobbyist fixing a broken PLA figurine can have it ready to display in under a minute.
But beware: If your project will get wet (like a PLA plant pot) or warm (like a phone stand near a laptop), skip this glue—it will peel or weaken quickly.
Epoxy Glue: The “Heavyweight Champion”
Need a bond that can handle pressure? Epoxy glue is your best bet. It seeps into PLA’s tiny pores, creating a bond that’s often stronger than the PLA itself.
- Causal chain: Mix epoxy resin + curing agent → resin reacts with PLA surface → forms a rigid, waterproof bond → achieves full strength in 24 horas.
- Cenário: If you’re making a PLA tool handle that will hold a heavy metal blade, epoxy ensures the blade won’t come loose—even with repeated use.
- Aviso: Always mix epoxy in equal parts (1:1 razão) and wear gloves—uncured epoxy can irritate skin.
Hot Melt Adhesive: The “Easy-Going” Choice
If you’re new to 3D printing or hate messy glue, hot melt adhesive (used with a glue gun) is perfect.
- Linear process: Plug in the glue gun → wait 2-3 minutes for it to heat up → apply melted glue to PLA → press parts together → let cool for 20 segundos.
- Why it works for PLA: PLA melts at around 180°C, and hot melt glue heats to 150-180°C—warm enough to bond but not hot enough to melt the PLA.
- Ideal project: A DIY PLA storage bin—you can bond the sides together in minutes without waiting for drying.
3. Critical Prep Step: Clean PLA Surfaces First
No matter which glue you choose, cleaning the PLA surface não é negociável. Here’s why:
- PLA prints often have tiny plastic strings (called “ooze”) or dust on their surfaces. These create gaps between parts, making the bond weak.
- How to clean: Wipe the PLA with isopropyl alcohol (70% ou superior) using a paper towel. For rough surfaces, use 200-grit sandpaper to smooth and remove debris.
Think of it like painting a wall—you wouldn’t skip priming, right? Cleaning ensures the glue adheres directly to the PLA, not dirt.
4. Yigu Technology’s Take on Glue for 3D Printing PLA
Na tecnologia Yigu, we recommend matching glue to your project’s “life cycle.” For temporary or quick projects (por exemplo, protótipos), instant or hot melt glue works. For long-lasting, peças funcionais (por exemplo, PLA mechanical components), epoxy or modified silicone is better. We also advise customers to test glue on a small PLA scrap first—this avoids ruining your main project. Our team often uses epoxy for PLA parts in industrial tools, as it stands up to daily wear and tear.
Perguntas frequentes
- P: Can I use super glue (instant adhesive) for all PLA projects?
UM: Não. Super glue is great for small, seco, low-heat projects, but it fails in water or high temperatures. Avoid it for outdoor or wet-use PLA parts.
- P: Do I need to clamp parts when using epoxy glue on PLA?
UM: Sim. Epoxy takes hours to cure, so clamping (with clips or clamps) keeps parts aligned and ensures a tight bond. Remove clamps after 2-4 horas.
- P: Is hot melt glue safe for PLA? Will it melt the plastic?
UM: Sim, it’s safe. Hot melt glue heats to 150-180°C, while PLA melts at ~180°C—you won’t damage the PLA as long as you don’t hold the glue gun tip directly on the plastic for more than 2 segundos.
