MJP (MultiJet Printing) is a versatile 3D printing technology known for its high precision and fast production of detailed parts. But to make the most of this technology, there are several important factors you need to pay attention to throughout the printing process. From choosing the right materials to post-processing the final model, each step plays a crucial role in achieving high-quality results. Let’s explore these key factors in detail.
Pemilihan bahan: Choosing the Right Photosensitive Resins
The foundation of successful MJP printing lies in selecting the appropriate photosensitive resins. MJP technology relies on liquid plastics that cure rapidly under UV light to form precise layers, so the material’s properties directly impact the final part’s quality.
- Look for resins designed specifically for MJP printers. These resins are formulated to work with the technology’s UV curing process, ensuring proper layer adhesion and consistent results.
- Consider the functional requirements of your print. Some resins offer high detail for intricate models, while others provide better mechanical strength for functional prototypes. Contohnya, if you’re printing a detailed architectural model, a resin with excellent fine-feature resolution is ideal. For parts that need to withstand minor stress, a more durable resin would be a better choice.
- Store resins properly. Since these are UV-sensitive materials, keep them in opaque containers away from direct sunlight or strong UV sources to prevent premature curing. This simple step can extend the material’s shelf life by up to 50%.
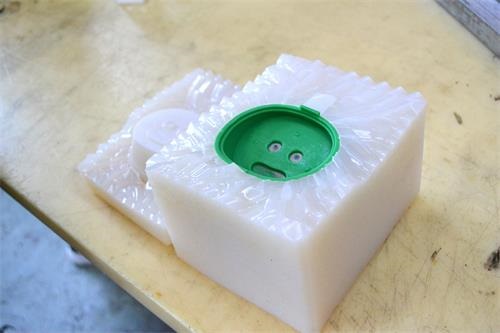
Support Structure Management: Handling Waxy Supports
MJP technology uses waxy support structures to shape complex models, and managing these supports correctly is essential for successful prints and easy post-processing.
- Understand how supports work. The waxy material is printed alongside the model material, providing stability for overhangs, thin features, and complex geometries. Unlike some other 3D printing technologies, MJP supports are designed to be easily removable after printing.
- Design with supports in mind. When creating your 3D model, consider where supports will be needed. Overhangs greater than 30 degrees often require support in MJP printing to maintain shape and prevent sagging. The software usually generates supports automatically, but you can adjust their density for better performance – a density of 15 – 25% balances support strength and ease of removal.
- Plan for post-processing removal. Waxy supports can typically be removed manually with tools like tweezers or brushes, or melted away using heat or solvents designed for MJP supports. This flexibility makes MJP a great choice for models with hard-to-reach support areas.
Layer Thickness Control: Impact on Accuracy and Smoothness
Layer thickness is a critical parameter in MJP printing, as it directly affects both the ketepatan dan surface smoothness of the final model.
- Choose the right layer thickness for your needs. MJP printers usually offer layer thickness options ranging from 16 ke 30 microns. A smaller layer thickness (16 – 20 microns) results in a smoother surface finish and higher detail resolution, making it perfect for visual prototypes or models with fine features. A larger layer thickness (25 – 30 microns) prints faster but may leave slightly more visible layer lines, which is acceptable for functional parts where speed is more important than 极致 smoothness.
- Understand the trade-off between speed and quality. Reducing layer thickness by 5 microns can increase print time by approximately 10 – 15% but significantly improves surface quality. Consider your project’s priorities – if you need a quick prototype, a larger layer thickness may suffice. For a showpiece model, opt for a smaller layer thickness.
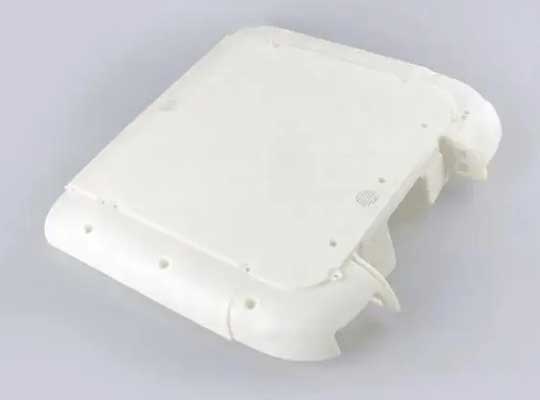
Post-Processing Steps: Enhancing Appearance and Detail
MJP-printed models require specific post-processing steps to achieve their best appearance and detail, and following these steps correctly is key.
- Remove support structures first. As mentioned, use appropriate tools or methods to remove waxy supports without damaging the model. Take your time with this step, especially around delicate features, to avoid breaking or scratching the model surface.
- Clean the model thoroughly. After support removal, clean the model to remove any leftover wax residue. Most MJP users use compressed air, soft brushes, or dedicated cleaning solutions to ensure all surfaces are free of debris. This step is crucial for revealing the model’s fine details and preparing it for further finishing.
- Sanding and polishing (jika diperlukan). MJP prints already have a smooth surface, but for even better results, you can sand with fine-grit sandpaper (800 – 1200 grit) and polish. This is especially useful for models that will be painted or need an ultra-smooth finish for functional testing.
Model Design: Leveraging MJP’s Detail Capabilities
MJP technology excels at capturing fine details, so designing your model to take advantage of this capability is important.
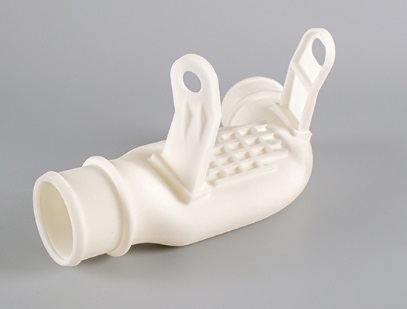
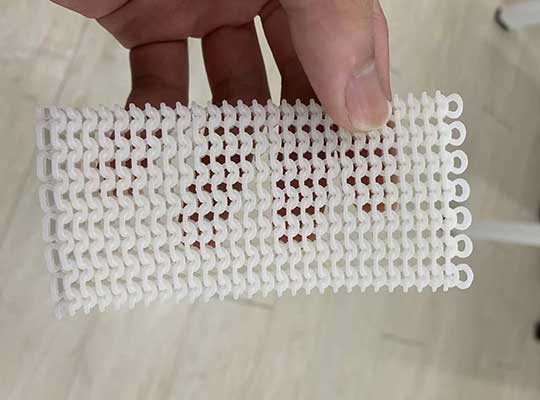
- Include subtle features confidently. MJP can accurately reproduce details as small as 0.1mm, such as tiny text, intricate patterns, or thin walls. Don’t shy away from adding these details to your design – the technology is built to handle them.
- Maintain proper wall thickness. While MJP can print thin features, ensure that critical walls are at least 0.3mm thick to maintain structural integrity. Thinner walls may be fragile and prone to breaking during post-processing or handling.
- Consider draft angles for easy demolding (if applicable). If your model will be used as a mold or needs to fit with other parts, adding small draft angles (1 – 2 degrees) can make assembly easier without affecting the model’s appearance.
Printing Speed: Maximizing Efficiency for Time-Sensitive Projects
One of MJP’s main advantages is its fast printing speed, and understanding how to leverage this can benefit time-sensitive projects.
- Take advantage of multi-nozzle technology. MJP printers use multiple nozzles to jet material simultaneously, significantly reducing print time compared to single-nozzle technologies. This makes MJP ideal for projects with tight deadlines, as it can produce detailed models up to 30% faster than some other high-precision 3D printing methods.
- Batch print small parts. The fast curing process and multi-nozzle setup make MJP efficient for batch printing multiple small parts in a single job. Arrange parts strategically on the build platform to maximize space utilization, reducing the number of print jobs needed and saving time overall.
Easy Operation: Navigating User-Friendly Software
MJP printers are known for their user-friendly operation, but familiarizing yourself with the software interface is still important for optimal results.
- Learn the software workflow. The software converts your 3D model into print instructions, handles support generation, and allows parameter adjustments. Spend time learning how to navigate the interface – most MJP software includes tutorials or guides to help new users.
- Use preset profiles for common materials. Most software offers preset profiles for different resins, which include optimized parameters like layer thickness and curing time. Starting with these presets and making minor adjustments as needed can save time and ensure better results, especially if you’re new to MJP printing.
Environmental Control: Managing UV Light Exposure
Since MJP uses a UV curing process, controlling the working environment’s light conditions is essential to prevent issues with uncured resin.
- Keep the printer in a controlled lighting area. Ambient UV light from sunlight or bright artificial sources can cause uncured resin to cure prematurely, leading to defects in the print or material waste. Ideally, the printing area should use low-UV lighting or be shielded from direct sunlight.
- Store uncured resins in a dark place. When not in use, keep resin containers closed and stored in a cabinet or drawer to protect them from light exposure. This maintains the resin’s quality and ensures consistent printing results.
Equipment Maintenance: Ensuring Long-Term Performance
Regular maintenance of MJP printers, especially printheads and UV lamps, is crucial for maintaining print quality and equipment longevity.
| Maintenance Task | Frequency | Purpose |
| Clean printheads | After every 5 – 10 print jobs | Prevent clogs and ensure consistent material jetting |
| Inspect UV lamps | Monthly | Check for proper functioning and consistent curing |
| Clean build platform | After each print | Remove residual material and ensure proper adhesion |
| Calibrate nozzles | Quarterly or after maintenance | Ensure accurate material placement and layer alignment |
- Follow the manufacturer’s maintenance schedule. Each MJP printer model has specific maintenance requirements, and adhering to these guidelines can prevent costly breakdowns and ensure the printer operates at peak performance.
- Use recommended cleaning supplies. Using the wrong cleaning agents can damage printheads or other components, so always use the supplies recommended by the printer manufacturer.
File Format and Slicing: Preparing Models Correctly
Proper file preparation and slicing are essential steps in the MJP workflow, ensuring your model prints as intended.
- Use compatible file formats. MJP printers typically support common 3D file formats like STL and OBJ. Check your printer’s specifications to confirm compatible formats, and ensure your model file is watertight with no missing faces or errors, which can cause slicing issues.
- Slice with care. Slicing software converts your 3D model into layers that the printer can understand. Take time to review slicing settings, including layer thickness, support density, and material selection, before sending the job to the printer. Most software allows you to preview the sliced model, which is a great way to catch potential issues like missing supports or incorrect layer settings.
Testing and Calibration: Validating Settings Before Batch Printing
Before starting large or important print jobs, conducting small-scale test prints and calibrating the equipment is a smart practice.
- Print a test model with various features. Include details like thin walls, overhangs, and small text in your test print. This allows you to check if the printer is reproducing details accurately and if supports are working correctly.
- Calibrate based on test results. If the test print shows issues like poor detail or support adhesion, adjust parameters like layer thickness or support density. Making these adjustments on a small test print saves time and material compared to discovering issues in a large batch.
- Verify dimensional accuracy. Use a caliper to measure key dimensions of the test print and compare them to your 3D model. If there are discrepancies, adjust the software’s scaling settings to ensure the final prints meet your design specifications.
Yigu Technology’s View
MJP 3D printing thrives on attention to material selection, support management, and environmental control. Its speed and precision make it ideal for detailed prototypes. Di Yigu Technology, we emphasize these factors – from proper resin storage to regular maintenance – to ensure consistent, high-quality results, unlocking MJP’s potential for rapid, accurate part production.
Soalan Lazim
- What materials are used in MJP 3D printing?
MJP uses liquid photosensitive resins that cure under UV light, along with waxy support materials that are removed during post-processing to shape complex models.
- How do I handle support structures in MJP printing?
MJP uses removable waxy supports. They can be removed manually with tools or melted with heat/solvents after printing, making them easy to manage even for complex geometries.
- What layer thickness should I choose for MJP prints?
For high detail and smoothness, gunakan 16 – 20 microns. For faster prints with acceptable quality, 25 – 30 microns works well, balancing speed and surface finish based on your needs.