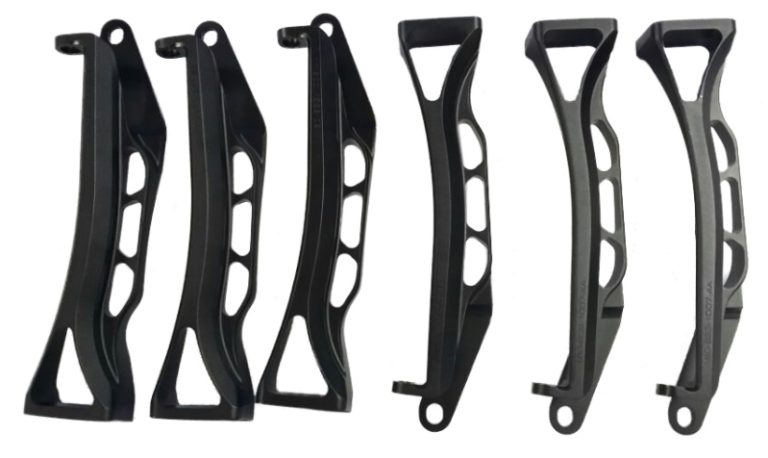
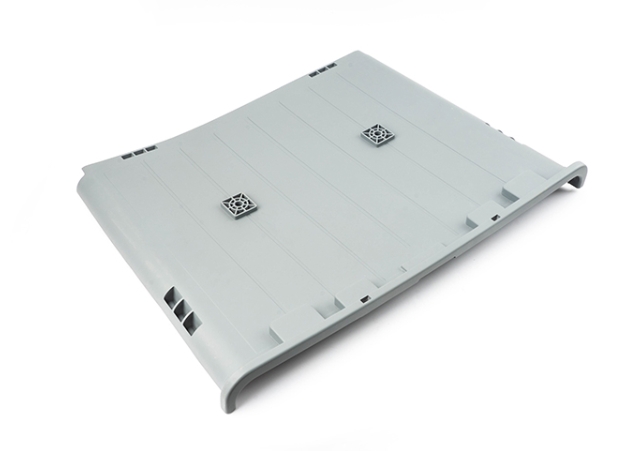
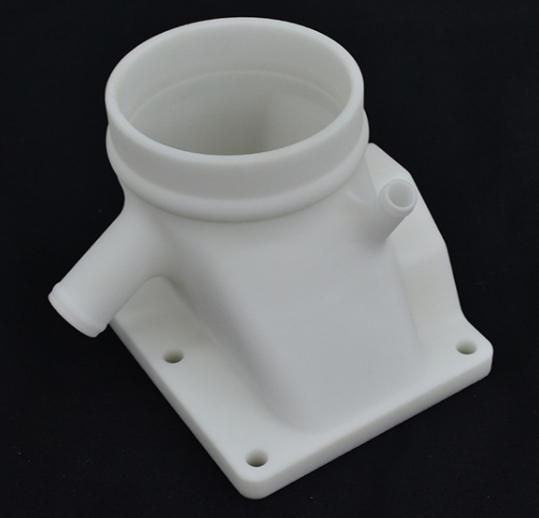
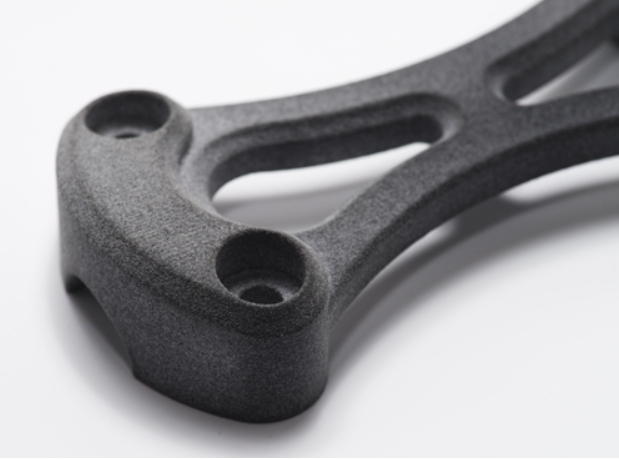
When it comes to creating high-performance prototype parts that can withstand extreme heat and strict dimensional demands, CNC machining PPS prototype models stand out as a top choice for engineers and product developers. Polyphenylene Sulfide (PPS) is a high-performance engineering plastic, and combining it with CNC technology ensures prototypes meet the exacting standards of industries like automotive, elektronik, and aerospace. This guide breaks down everything you need to know—from the basics of PPS material to real-world applications and step-by-step processes.
1. What Is a CNC Machining PPS Prototype Model?
A CNC machining PPS prototype model is a physical sample of a part made from PPS plastic, manufactured using Computer Numerical Control (CNC) teknologi. Tidak seperti percetakan 3D (yang membina lapisan bahagian mengikut lapisan), CNC machining uses subtractive manufacturing: it removes material from a solid PPS block to create the desired shape.
Key Benefits of PPS Material for Prototypes
PPS is chosen for prototypes because of its unique properties, which solve common pain points in engineering:
- Exceptional heat resistance: Can withstand temperatures up to 260°C (500° f) without deforming—critical for parts like engine components or electronic enclosures.
- Flame retardancy: Meets UL94 V-0 piawaian, making it safe for aerospace and consumer electronics.
- Kestabilan dimensi: Low moisture absorption means the prototype won’t shrink or warp, ensuring accurate testing results.
- Rintangan kimia: Resists oils, asid, and solvents—ideal for automotive fuel system or medical device prototypes.
2. Step-by-Step Process for CNC Machining PPS Prototype Models
Mencipta a CNC machining PPS prototype model requires careful planning and precision. Below is a detailed breakdown of the process, dengan petua untuk mengelakkan kesilapan biasa:
| Langkah | Action Details | Alat/perisian yang digunakan | Key Tip for Success |
| Reka bentuk & Pengaturcaraan | 1. Buat model 3D prototaip menggunakan perisian CAD. 2. Generate G-code (machine-readable instructions) from the 3D model. | CAD: Solidworks, Autodesk Inventor Cam: MasterCam, Fusion 360 | Gunakan parametric CAD design to easily adjust dimensions if changes are needed later. |
| Machine Preparation | 1. Pilih mesin CNC (3-paksi, 4-paksi, or 5-axis) based on prototype complexity. 2. Secure the PPS block to the machine’s worktable. | 3-Axis CNC (bentuk mudah), 5-Axis CNC (complex curves) | Gunakan vacuum clamps for thin PPS parts to avoid cracking during machining. |
| Pemesinan kasar | Remove excess PPS material quickly to get close to the final shape. | Endmills besar (10-16mm), kadar suapan yang tinggi (500-800 mm/min) | Keep cutting speed moderate (150-200 m/my) to prevent PPS from melting. |
| Penamat | Gunakan alat kecil untuk pemotongan yang tepat untuk memenuhi keperluan kualiti dimensi dan permukaan. | Endmills kecil (2-6mm), low feed rates (100-300 mm/min) | Tambah a coolant mist to reduce friction and improve surface finish (Ra 0.8-1.6 μm). |
| Selepas rawatan | 1. Clean the prototype to remove cutting fluids and chips. 2. Polish surfaces if needed. 3. Inspect dimensions with precision tools. | Ultrasonic cleaner, kertas pasir (400-800 grit), Menyelaras mesin pengukur (Cmm) | Gunakan a Cmm to check tolerances (± 0.01mm) for critical features like holes or threads. |
3. Aplikasi dunia nyata & Kajian kes
CNC machining PPS prototype models are used across industries to test form, Sesuai, dan berfungsi sebelum pengeluaran besar -besaran. Here are two 真实案例 (Kes-kes dunia sebenar) to illustrate their value:
Kes 1: Automotive Sensor Housing Prototype
A leading automotive supplier needed a prototype for a sensor housing that would sit near the engine (exposed to 180°C heat). Mereka memilih CNC machining PPS prototype models for two reasons:
- PPS’s heat resistance meant the prototype could withstand engine bay temperatures during testing.
- CNC machining ensured the housing’s small mounting holes (Ø3mm) had tight tolerances, so the sensor fit perfectly.
Hasil: The prototype passed thermal and vibration tests, and the design was approved for mass production—saving 4 weeks of rework compared to using a less durable plastic.
Kes 2: Aerospace Connector Prototype
An aerospace company required a prototype for an electrical connector that needed to resist jet fuel and extreme cold (-50° C hingga 200 ° C.). CNC machining PPS prototype models were the solution because:
- PPS’s chemical resistance prevented damage from jet fuel exposure.
- CNC’s precision ensured the connector’s pins aligned correctly with the aircraft’s wiring.
Hasil: The prototype met NASA’s standards, and the company ordered 500 production parts using the same CNC process.
4. How CNC Machining PPS Compares to Other Prototyping Methods
Choosing the right prototyping method depends on your needs. Below is a comparison of CNC machining PPS dengan percetakan 3D (FDM) and injection molding:
| Ciri | CNC Machining PPS | 3D Percetakan (FDM) | Pengacuan suntikan (PPS) |
| Masa utama | 1-3 hari | 8-24 jam | 2-4 minggu (tooling required) |
| Cost for 1-10 Prototaip | \(50-\)300 setiap bahagian | \(30-\)150 setiap bahagian | $1,000+ (tooling cost) |
| Toleransi | ± 0.01mm (ketepatan tinggi) | ± 0.1mm (lower precision) | ± 0.02mm (tinggi, but tooling limits flexibility) |
| Kemasan permukaan | Licin (Ra 0.8-1.6 μm) | Layer lines (Ra 3.2-6.3 μm) | Licin (Ra 0.4-0.8 μm) |
| Terbaik untuk | Kompleks, high-tolerance, bahagian tahan haba | Bahagian mudah, lelaran cepat | Pengeluaran besar -besaran (1000+ bahagian) |
For most engineers, CNC machining PPS prototype models are the best choice when precision and material performance matter—even if 3D printing is faster for simple designs.
5. Yigu Technology’s Perspective on CNC Machining PPS Prototype Models
Di Yigu Technology, Kami telah menyokong 500 clients in automotive, elektronik, and aerospace with CNC machining PPS prototype models. Our experience shows that PPS prototypes reduce risk: they let teams test real-world performance early, avoiding costly design flaws later. We recommend using 5-axis CNC machines for complex PPS parts—they reduce setup time and improve accuracy for curved or multi-sided features. Di samping itu, our post-treatment process (including ultrasonic cleaning and CMM inspection) ensures every prototype meets ISO 9001 piawaian. For clients needing fast turnaround, we offer 24-hour CNC machining for simple PPS prototypes without compromising quality.
Soalan Lazim
1. How long does it take to make a CNC machining PPS prototype model?
Untuk bahagian mudah (Mis., a flat sensor cover), Masa utama adalah 1-2 hari. Untuk bahagian yang kompleks (Mis., a 5-sided aerospace connector), it may take 3-5 days—including design adjustments and inspection.
2. Can CNC machining PPS prototypes be used for functional testing?
Ya! PPS’s heat, chemical, and mechanical properties make these prototypes suitable for functional tests like thermal cycling, pressure testing, and wear resistance. Many clients use them to validate designs before tooling for mass production.
3. What is the maximum size of a CNC machining PPS prototype model?
It depends on the CNC machine. Most standard machines can handle PPS blocks up to 1000mm x 600mm x 500mm. Untuk bahagian yang lebih besar (Mis., automotive battery enclosures), custom CNC setups can accommodate blocks up to 2000mm in length.
