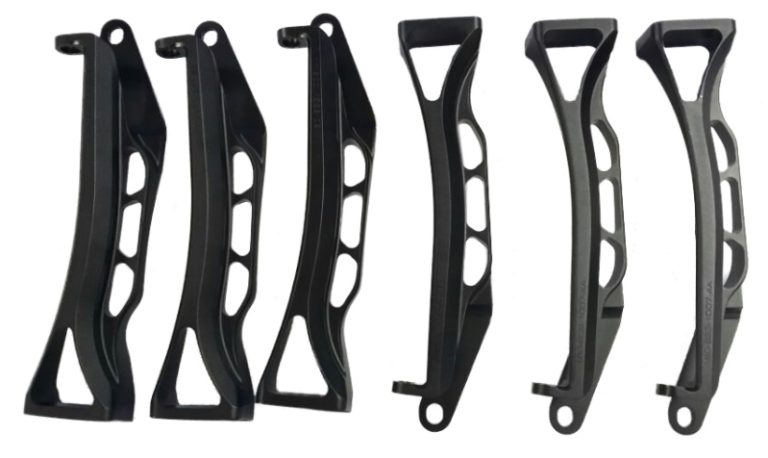
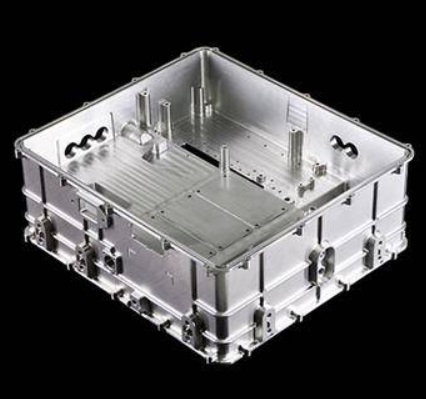
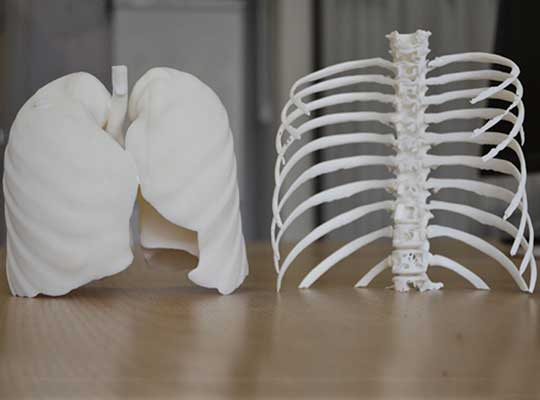
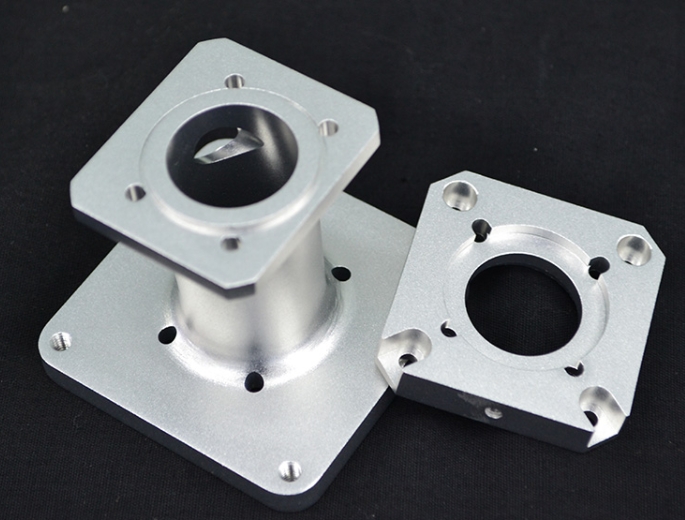
CNC machining arc prototypes is a game-changer for creating parts with complex curved geometries—think automotive wheel arches, Komponen enjin aeroangkasa, or medical device housings. Tidak seperti pemesinan manual (which struggles with consistent arc smoothness), computer numerical control (CNC) technology delivers ultra-precise, repeatable results. Whether you’re a product engineer testing a new design or a manufacturer scaling up prototypes, understanding the ins and outs ofCNC machining arc prototypes helps you avoid costly errors and speed up production. This guide breaks down the entire process, with real-world examples and data to make every step clear.
1. Pra-pemprosesan: Reka bentuk & Programming – The Foundation of Great Arcs
Before the CNC machine touches material, two steps set the stage for perfectCNC machining arc prototypes: 3D design and CAM programming. Skipping these or cutting corners leads to lopsided arcs or mismatched dimensions.
1.1 Reka bentuk CAD: Model Every Arc Detail
The first step is to create a 3D model of your prototype usingCAD (Reka bentuk bantuan komputer) perisian Seperti Solidworks, AutoCAD, atau gabungan 360. For arc prototypes, precision here is non-negotiable—you need to define:
- Arc radius: Even a 0.1mm error in radius can ruin a part (Mis., a 50mm radius arc meant for a bearing housing won’t fit if it’s 49.9mm).
- Arc length: How long the curve is (critical for parts that need to align with straight sections).
- Tangency: Ensure arcs connect smoothly to other features (Mis., an arc on a phone case should blend seamlessly with the flat back).
Untuk hujungnya: Use CAD’s “arc validation tool” to check for inconsistencies. Contohnya, a furniture designer creating a curved chair arm prototype used this tool to fix a hidden 0.2mm radius mismatch—saving 8 hours of rework later.
1.2 Pengaturcaraan CAM: Turn Design into Machine Code
Once the CAD model is ready, gunakanCam (Pembuatan bantuan komputer) perisian to convert it into G-code (Mesin CNC bahasa memahami). For arc prototypes, CAM does three critical things:
- Tool path planning: It maps the exact route the tool will take to cut the arc. For a 360° arc, the path should be a smooth, continuous curve—no sudden stops (which cause tool marks).
- Tool selection: It recommends tools based on arc size (Mis., a small 5mm radius arc needs a 10mm diameter end mill to avoid tool collisions).
- Parameter setting: It suggests cutting speed, kadar suapan, and depth of cut (more on this later).
Why This Matters: A well-written CAM program reduces arc machining time by 25–30%. Contohnya, an automotive supplier optimized the CAM path for a wheel arch prototype, cutting machining time from 45 minit ke 32 minit setiap bahagian.
2. Pemilihan bahan: Choose What Works for Your Arc’s Purpose
The material you pick forCNC machining arc prototypes affects two key things: how easy the arc is to cut and how the final part performs. Below’s a breakdown of common materials, their pros, and best uses for arc prototypes:
| Bahan | Arc Machinability | Sifat utama | Ideal Arc Prototype Uses | Kos (USD/kg) |
|---|---|---|---|---|
| Plastik abs | Cemerlang | Ringan, kos rendah, easy to sand | Consumer product casings (Mis., curved headphone shells) | $2.5 - $4.0 |
| Aloi aluminium 6061 | Sangat bagus | Kuat, tahan kakisan, ringan | Bahagian automotif (Mis., curved trim), Lampiran Elektronik | $2.8 - $4.5 |
| Keluli tahan karat 304 | Baik | Tahan lama, rust-proof | Peranti perubatan (Mis., curved surgical tool handles) | $3.8 - $6.5 |
| Titanium Alloy Ti-6Al-4V | Adil | Ultra kuat, tahan haba | Komponen Aeroangkasa (Mis., curved engine brackets) | $35 - $50 |
Contoh dunia nyata: A medical device startup needed a curved prototype for a portable ultrasound machine. Mereka memilihPlastik abs for its low cost (great for testing) and easy machinability—they tested 3 different arc radii (20mm, 25mm, 30mm) dalam adil 3 hari. If they’d used titanium, the same tests would have taken 2 weeks and cost 10x more.
3. Mesin & Persediaan Alat: Get Ready to Cut Smooth Arcs
Even the best design and material won’t saveCNC machining arc prototypes if your machine or tools are poorly set up. Focus on two key areas: choosing the right CNC machine and prepping tools.
3.1 Choose the Right CNC Machine for Arcs
Not all CNC machines handle arcs equally. For most arc prototypes, you’ll need one of these:
- 3-axis CNC mills: Great for 2D arcs (Mis., a curved edge on a flat metal plate). They’re affordable and fast for simple arcs.
- 5-axis CNC machines: Ideal for complex 3D arcs (Mis., a curved, twisted aerospace part). They can move the tool in 5 directions, ensuring the arc stays consistent from every angle.
Kajian kes: A drone manufacturer used a 5-axis CNC machine to make a 3D curved propeller guard prototype. A 3-axis machine would have required repositioning the part 3 kali (risking errors), but the 5-axis machine cut the arc in one pass—arc precision improved by 40%.
3.2 Tool Prep: Sharp Tools = Smooth Arcs
Dull or wrong-sized tools are the #1 cause of rough arc surfaces. UntukCNC machining arc prototypes, use these guidelines:
- Tool type: Gunakan Kilang akhir for most arcs (they cut smooth curves). For small radii (≤5mm), use a “ball nose end mill” (its rounded tip matches the arc shape).
- Tool sharpness: A dull end mill leaves “chatter marks” on arcs. Check tools with a microscope—if the cutting edge has even a tiny chip (0.05mm), replace it.
- Tool holder: Secure the tool tightly to avoid vibration. A loose holder can make the tool wobble, turning a 50mm radius arc into a 50.2mm arc.
Titik data: Shops that replace tools after 8 hours of arc machining (bukan 10) see 35% fewer rough arc surfaces, according to a CNC industry survey.
4. Core Processing: Roughing & Finishing – Cut the Perfect Arc
The heart ofCNC machining arc prototypes is the actual cutting process, which has two phases: roughing (remove excess material) and finishing (smooth the arc to perfection).
4.1 Roughing: Speed Up Material Removal
Roughing’s goal is to quickly cut away extra material, leaving just enough (dipanggil "elaun pemesinan") untuk penamat. For arcs:
- Kedalaman potong: Use 1–3mm per pass (more for soft materials like ABS, less for hard metals like stainless steel).
- Kadar suapan: Keep it high (300–500 mm/min for aluminum) to save time—but not so high that the tool vibrates.
Contoh: A manufacturer roughing a 100mm radius aluminum arc prototype used a 2mm depth of cut and 400 mm/min feed rate. They removed 90% of excess material in 12 minutes—vs. 25 minutes with a slower feed rate.
4.2 Penamat: Make Arcs Smooth & Precise
Finishing is where arcs go from “good” to “perfect.” Here’s how to do it right:
- Reduce depth of cut: Use 0.1–0.5mm per pass to avoid tool marks.
- Kadar suapan perlahan: 100–200 mm/min for metals, 200–300 mm/min for plastics.
- Use coolant: Untuk logam, coolant reduces heat (which warps arcs) and keeps the tool sharp. Water-soluble coolant works best for aluminum and steel.
Success Story: A consumer electronics brand was struggling with rough arcs on their smartwatch case prototypes. By switching to a 0.2mm finishing depth and 150 mm/min feed rate (plus coolant), their arc surface roughness dropped from Ra 1.6 μm ke ra 0.8 μm—good enough for mass production.
5. Pasca pemprosesan & Kawalan kualiti: Polish & Verify Arcs
CNC machining arc prototypes doesn’t end when the machine stops. Post-processing fixes small flaws, and quality control ensures arcs meet design specs.
5.1 Pasca pemprosesan: Smooth Out Imperfections
Even with great finishing, arcs may need minor touch-ups:
- Deburring: Use a deburring tool or sandpaper to remove sharp edges (critical for parts people will touch, like curved handle prototypes).
- Pengamplasan: For plastic or aluminum arcs, 400-grit sandpaper creates a matte, uniform finish.
- Lukisan/salutan: Add a layer of paint or anodizing (untuk aluminium) to protect the arc and improve appearance.
5.2 Kawalan kualiti: Check Every Arc Detail
To avoid sending faulty prototypes to clients, test three key things:
- Arc radius & panjang: Gunakan a Menyelaras mesin pengukur (Cmm) Untuk memeriksa dimensi. A CMM measures arc radius with ±0.001mm accuracy—perfect for verifying a 25.000mm radius arc.
- Surface smoothness: Gunakan a profilometer to measure Ra (kekasaran permukaan). For most consumer products, Ra 0.8–1.6 μm is ideal; for medical devices, Ra ≤0.4 μm.
- Fit test: Assemble the prototype with other parts (Mis., a curved gear arc should mesh with a straight gear tooth). If it doesn’t fit, go back to CAD/CAM to fix the arc.
Quality Tip: Ujian 10% of your prototype batch. If one arc fails, test 50%—this balances speed and thoroughness. A robotics company once skipped this step and shipped 20 curved arm prototypes with mismatched radii—costing $1,200 dalam kerja semula.
6. Error Control & Technological Innovation – Stay Ahead of Issues
CNC machining arc prototypes has its challenges (Mis., memakai alat, getaran), but two strategies keep errors in check: strict error control and adopting new tech.
6.1 Common Arc Errors & How to Fix Them
| Error Type | Sebab | Penyelesaian |
|---|---|---|
| Rough arc surface | Dull tool or too high feed rate | Replace tool; lower feed rate by 10–15% |
| Incorrect arc radius | CAM path miscalculation | Re-run CAM with “arc validation” enabled |
| Arc warping | Too much heat (no coolant for metals) | Add coolant; reduce cutting speed by 20% |
6.2 New Tech to Improve Arc Machining
Advancements in CNC tech makeCNC machining arc prototypes faster and more precise:
- AI-powered CAM software: It learns from past arc jobs to optimize tool paths automatically. One aerospace shop cut arc machining time by 30% with this tech.
- High-speed spindle CNC machines: Spindles that run at 20,000+ RPM cut arcs smoother and faster—great for titanium or stainless steel.
Yigu Technology’s View on CNC Machining Arc Prototypes
Di Yigu Technology, we’ve refinedCNC machining arc prototypes berakhir 12 years of serving automotive, perubatan, and consumer product clients. We prioritize two things: precision and speed. Our team uses AI-enhanced CAM software to optimize arc tool paths (cutting time by 25%) and CMMs to check every arc’s radius with ±0.001mm accuracy. For material selection, we guide clients to choose cost-effective options (Mis., ABS for early tests, aluminum for final prototypes) tanpa mengorbankan kualiti. We also share our experience—like how adjusting coolant flow reduces arc warping—to help clients avoid mistakes. Untuk kita, great arc prototypes aren’t just about cutting curves—they’re about turning design ideas into reliable products.
FAQ About CNC Machining Arc Prototypes
Q1: How long does it take to CNC machine an arc prototype?
A: It depends on arc size and material. A small 50mm radius ABS plastic arc takes 15–20 minutes; a large 200mm radius titanium arc takes 1–1.5 hours. Batch size also matters—machining 10 identical arcs takes 2x longer than 1, not 10x, thanks to repeatable CNC settings.
S2: What’s the minimum arc radius I can machine with CNC?
A: Most CNC mills handle arcs as small as 0.5mm radius (using a 1mm diameter ball nose end mill). For smaller radii (≤0.3mm), you’ll need a micro-CNC machine—common in medical device prototyping (Mis., tiny curved surgical tools).
Q3: Can I fix a poorly cut arc with post-processing?
A: It depends on the error. Small issues (Mis., minor roughness) can be fixed with sanding or deburring. But big errors (Mis., wrong radius or uneven length) usually require re-machining—this is why pre-processing (CAD/CAM) and quality checks are so important!
