If you’re an engineer working on complex part designs or a buyer sourcing high-precision metal prototypes, SLM metal 3D printing prototype technology is a game-changer. 従来の製造とは異なり, 選択的レーザー融解 (SLM) creates detailed, durable metal models from powders—no molds needed. このガイドは、あなたが知る必要があるすべてを分解します, from how it works to real-world uses, to help you make smarter decisions for your projects.
What Is an SLM Metal 3D Printing Prototype?
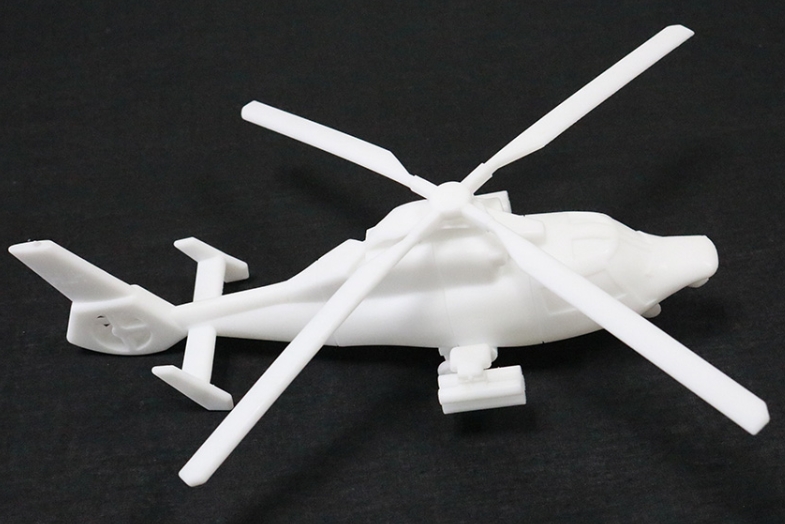
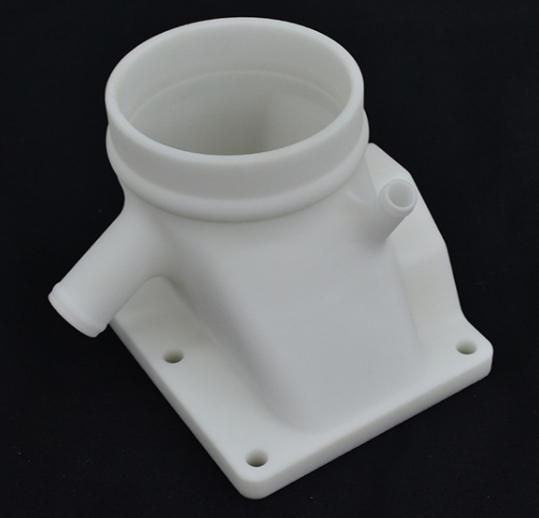
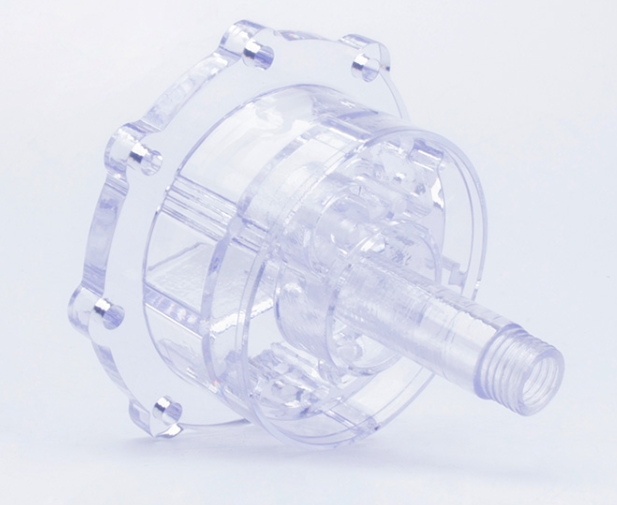
AnSLM metal 3D printing prototype is a high-precision metal model made by melting metal powder layer-by-layer with a focused laser. Unlike other 3D printing methods (like FDM for plastics), SLM uses fully dense metal materials—making prototypes strong enough for testing, 組み立て, or even small-batch production.
Key advantages for engineers and buyers:
- 複雑なジオメトリ: Prints undercuts, 格子構造, and hollow designs that CNC machining can’t achieve.
- 物質的な汎用性: Works with industrial metals like ステンレス鋼 (316l), アルミニウム合金 (alsi10mg), そして チタン合金 (Ti6Al4V)—critical for aerospace and medical projects.
- 速いターンアラウンド: Cuts prototype lead time from weeks (伝統的) to 3–7 days for most parts.
実世界のアプリケーション & ケーススタディ
SLM prototypes solve unique challenges across industries. Below are proven examples to show how it adds value:
| 業界 | Application Case | 使用される材料 | Key Outcome |
|---|---|---|---|
| 航空宇宙 | Jet engine fuel nozzle prototype | Titanium Alloy Ti6Al4V | Reduced part weight by 40% vs. cast versions; passed high-temperature tests |
| 医療機器 | Custom hip implant prototype | Titanium Alloy Ti6Al4V | Matched patient’s bone structure perfectly; shortened surgical prep time |
| 自動車 | Racing car suspension bracket prototype | Aluminum Alloy AlSi10Mg | Improved strength-to-weight ratio by 25%; のテスト 500+ race cycles |
ケースの例 (航空宇宙): A leading aircraft manufacturer needed a prototype for a fuel nozzle with tiny internal channels. Traditional machining failed to create the channels without breaking tools. Using SLM, they printed the nozzle in 5 日 (vs. 3 weeks for casting) and validated its performance in wind tunnel tests—saving $15,000 in prototype costs.
Step-by-Step SLM Prototype Production Process
Creating an SLM metal prototype involves 6 core stages. We’ve simplified the workflow and added tips for engineers/buyers to avoid common issues:
- 3Dモデリング & STLエクスポート
- SolidWorksやFusionなどのソフトウェアを使用します 360 to design the part. Focus on wall thickness (minimum 0.3mm for SLM) to prevent printing failures.
- Export the model as an STL file (standard for 3D printing). Check that the STL has no “non-manifold edges” (use MeshLab for quick checks).
- Software Processing with Magics
- Import the STL into Magics (SLM-specific software). Use the “Repair Wizard” to fix gaps or overlapping surfaces—this step reduces 80% of printing errors.
- Buyer Tip: Ask your supplier to share a Magics preview of the model; this lets you confirm design details early.
- Placement & サポート構造設計
- Position the model to minimize supports (例えば。, angle overhangs at 45° or less). Supports add post-processing time and cost, so optimize this step!
- For overhangs >3mm, add automatic or manual supports (use thin, lattice-style supports for easier removal).
- パラメーター設定 & スライス
- Adjust parameters based on material:
- Stainless Steel 316L: Laser power = 280W, layer height = 0.05mm
- Titanium Ti6Al4V: Laser power = 300W, layer height = 0.03mm
- Slice the model to create a machine-readable file (usually .CLI or .AML) with layer-by-layer paths.
- Adjust parameters based on material:
- SLM印刷
- Load the file into an SLM printer (例えば。, それらm 290 or Renishaw AM 400). The printer spreads a thin layer of metal powder (5–50μm thick) and melts it with a laser.
- Engineer Tip: Monitor the first 5 layers—if they warp, pause and adjust the bed temperature.
- 後処理 & 品質チェック
- Remove loose powder (use a vacuum or compressed air) and supports (wire EDM for titanium, sandblasting for aluminum).
- Sand and polish the surface (up to Ra 1.6μm for visible parts).
- Test for quality: Use a CT scanner to check for internal defects, and a caliper to verify dimensions (SLM accuracy = ±0.1mm for parts <100mm).
How SLM Prototypes Compare to Traditional Prototyping
For engineers and buyers, choosing between SLM and traditional methods (鋳造, CNC) depends on cost, スピード, and design needs. Here’s a clear comparison:
| 要素 | SLM Metal 3D Printing | Traditional Casting | CNC加工 |
|---|---|---|---|
| リードタイム | 3–7日 | 2–4週 | 1–2週 |
| Cost for Complex Parts | $500 - $ 3,000 (小さな部品) | $1,500 - $ 5,000 (カビ + 部品) | $800–$4,000 (ツーリング + 労働) |
| 設計の柔軟性 | 素晴らしい (アンダーカット, lattices) | 貧しい (needs mold design) | 限定 (no internal channels) |
| 材料廃棄物 | 5–10% (unmelted powder reused) | 20–30% (スクラップメタル) | 30–40% (chip waste) |
| 正確さ | ±0.1mm (部品 <100mm) | ±0.5mm | ±0.05mm (but less flexible) |
Yigu Technology’s Perspective on SLM Prototyping
Yiguテクノロジーで, サポートしています 200+ クライアント (航空宇宙, 医学, 自動車) とSLM metal 3D printing prototypes 以上 5 年. We believe SLM’s biggest value is bridging “design intent” and “real-world performance”—engineers can test bold designs without expensive molds, while buyers cut time-to-market. Our team prioritizes material traceability (we use certified powders from EOS and AP&c) and post-processing precision (Ra 0.8μm for critical parts). For projects needing fast iterations, SLM isn’t just a tool—it’s a competitive edge.
FAQ About SLM Metal 3D Printing Prototypes
- Q: How much does an SLM metal prototype cost?
a: 小さな部分の場合 (50x50x50mm), コストの範囲 $300 (アルミニウム) に $800 (チタン). 大きい部品または複雑な部品 (100x100x100mm) can cost $1,000–$5,000, depending on material and post-processing. - Q: Can SLM prototypes be used for functional testing?
a: はい! SLM parts have full metal density (99.5%+ for titanium), so they work for tests like tensile strength, 耐食性, or high-temperature performance. - Q: What’s the maximum size of an SLM prototype?
a: Most industrial SLM printers have a build volume of 250x250x325mm (例えば。, それらm 290). 大きな部品の場合 (up to 500x500x500mm), some suppliers offer custom printer setups, but lead time increases to 10–14 days.
