The plastic robot prototype model is a vital bridge between a robot’s design concept and its final physical form. It helps engineers verify design feasibility, テスト機能, and check appearance quality—saving time and costs before mass production. Whether you’re developing a small household robot or an industrial automation robot, this guide breaks down every key step of creating a plastic robot prototype model with real examples and practical data.
1. Design and Planning: Lay the Groundwork for Your Prototype
Design and planning are the first and most critical stages in creating a plastic robot prototype model. A well-thought-out design ensures the prototype truly reflects the final robot’s performance and appearance.
Key Design Steps
- 3Dモデル作成: Use professional CAD software (SolidWorksやAutoCADなど) to build a detailed 3D model. The model must accurately show the robot’s size, 形, internal mechanisms (like gears and motors), and electronic component layout. 例えば, a small cleaning robot prototype required a 3D model with 0.03mm dimensional accuracy to fit a 12V motor and a 500mAh battery inside its 15x15x8cm body.
- Application Scenario Considerations: Think about how the robot will be used. For an industrial robot that lifts 5kg loads, the 3D model must include reinforced arm structures. For a household robot that moves on carpets, the model needs to account for wheel traction and movement speed (例えば。, 0.5m/s).
場合: A robotics company designed a delivery robot prototype. During the 3D modeling phase, they considered the robot’s need to navigate narrow hallways (so they kept its width under 60cm) and carry 2kg packages (so they added a reinforced base). The final 3D model ensured the prototype could handle real-world delivery tasks.
2. Material Selection and Preparation: Choose the Right Plastic
Selecting the right plastic and preparing it properly is essential for a durable and functional plastic robot prototype model. Different robot parts need materials with specific properties.
Common Materials for Plastic Robot Prototype Models
| 材料名 | キープロパティ | Best For Robot Parts | 機械加工されます | 料金 (kgあたり) |
| 腹筋 (アクリロニトリル - ブタジエン - スチレン) | 良い透明性, 処理が簡単です, 中程度の耐衝撃性 | 外殻, body frames (例えば。, cleaning robot casings) | 高い | \(18- )28 |
| PC (ポリカーボネート) | 耐衝撃性が高い, 耐熱性 (最大130°C), 剛性 | Arm parts, モーターカバー (例えば。, industrial robot arms) | 中くらい | \(25- )35 |
| PMMA (アクリル) | 92% 光伝達, スクラッチ耐性 | 透明な部品 (例えば。, robot camera covers, display windows) | 中くらい | \(22- )32 |
| pp (ポリプロピレン) | 耐摩耗性, 酸/アルカリ防止, フレキシブル | ホイール, moving joints (例えば。, household robot wheels) | 高い | \(15- )25 |
| ナイロン | 高い引張強度, 耐摩耗性, フレキシブル | ギア, ベルト (例えば。, robot arm gears) | 低い | \(35- )45 |
| ポン (ポリオキシメチレン) | 優れた寸法安定性, 低摩擦 | 精密部品 (例えば。, センサーブラケット, 小さなギア) | 中くらい | \(30- )40 |
Material Preparation Tips
- 切断: Trim raw plastic sheets/rods to a size slightly larger than the prototype part (例えば。, add 5mm to each dimension) to leave room for machining.
- 熱処理: For materials like PC, heat them at 80°C for 1 hour to reduce internal stress—this prevents the prototype from warping after machining.
3. コア製造方法: Bring the Prototype to Life
There are three main ways to make a plastic robot prototype model, それぞれが異なるニーズに適しています (スピード, 量, 複雑).
製造方法比較
| 方法 | それがどのように機能するか | に最適です | リードタイム | プロトタイプごとのコスト |
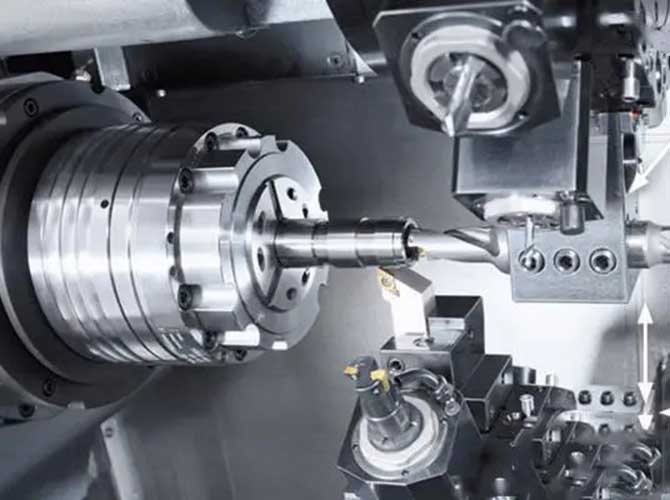
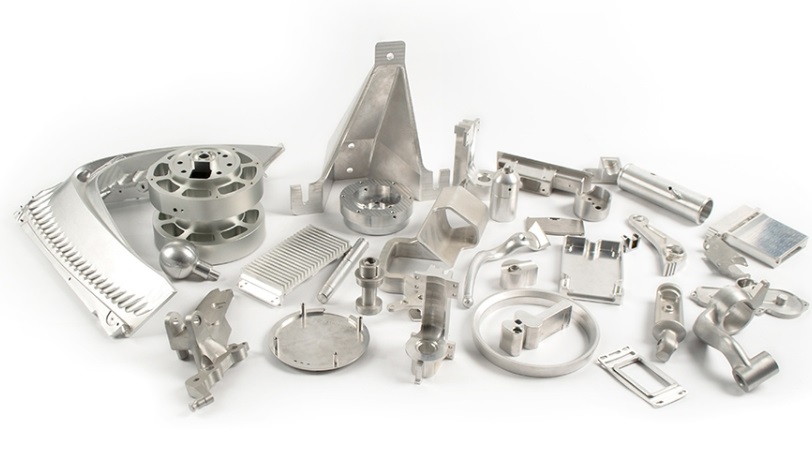
| CNC加工 | コンピューター制御のツールは、プラスチックを形にしました. | High-precision prototypes (例えば。, robot arms with 0.01mm accuracy) | 2–4日 | \(80- )300 |
| 3D印刷 | 紫外線は、液体樹脂層ごとの液体硬化を癒します. | 急速な, 複雑なプロトタイプ (例えば。, robot with intricate internal channels) | 1–2日 | \(50- )200 |
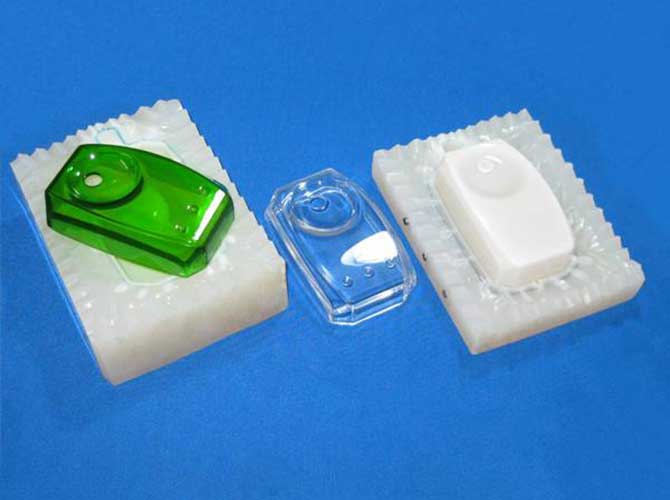
| シリコンモールディング | シリコン型は、バッチコピー用の元のサンプルから作られています. | 小型バッチプロトタイプ (5–50ユニット, 例えば。, test runs of robot wheels) | 3–5日 | \(30- )120 |
例: チームが必要です 10 prototypes of a robot’s gear box. They first made one CNC-machined POM gear box (高精度のため), その後、そこからシリコン型を作成しました. 生成された型 10 identical gear boxes in 4 日 - コスト 35% 作るよりも少ない 10 個別のCNCプロトタイプ.
4. アセンブリとテスト: Ensure Functionality
Assembly and testing turn individual parts into a working plastic robot prototype model and verify if it meets design goals.
Assembly Steps
- Precision Assembly: Use tools like calipers to ensure parts fit correctly. For a robot arm, the joint parts must align within ±0.02mm to move smoothly.
- Component Integration: 電子部品をインストールします (モーター, センサー, バッテリー) carefully. For a robot with a camera, the camera lens must be aligned with the robot’s “eye” opening to capture clear images.
Testing Types
| テストタイプ | What to Check | 例 |
| Sports Performance Testing | Movement speed, 可動域, stability | A delivery robot should move at 0.8m/s and turn 360° without tipping. |
| Electrical System Testing | Battery life, sensor accuracy, motor function | A cleaning robot’s battery should last 2 時間, and its dirt sensor should detect particles as small as 0.1mm. |
| Load Testing | How much weight the robot can carry/lift | An industrial robot arm should lift 5kg without bending. |
場合: A prototype of a household companion robot underwent testing. Its movement speed was 0.6m/s (meeting the 0.5–0.7m/s design range), its battery lasted 2.5 時間 (exceeding the 2-hour target), and its touch sensor correctly responded to 98% of taps—confirming it was ready for further optimization.
5. Surface Treatment and Post-Processing: Improve Appearance and Durability
Surface treatment and post-processing make the plastic robot prototype model look professional and last longer.
表面処理オプション
- 絵画: Use robot-grade paint to match the final product’s color. A medical robot prototype was painted white (to meet hospital hygiene standards) with blue accents (for brand recognition).
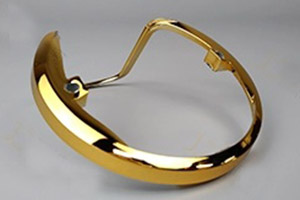
- メッキ: Add a thin metal coating (例えば。, ニッケル) to parts like robot “hands” to improve wear resistance.
- 陽極酸化: For aluminum-plastic composite parts (例えば。, ロボットフレーム), anodizing adds a protective layer that resists scratches.
後処理ステップ
- deburring: Use 400-grit sandpaper to smooth tool marks on the robot’s body—this prevents scratches on users’ hands.
- Polishing and Oil Spraying: Polish transparent parts (like PMMA camera covers) to make them clear, then spray oil on the outer shell to add a matte or glossy finish. For a toy robot prototype, oil spraying gave it a soft matte texture that kids loved.
6. Quality Inspection and Shipping: Deliver a Reliable Prototype
The final steps ensure the plastic robot prototype model meets standards and arrives safely to the client.
品質検査チェックリスト
- 寸法精度: 座標測定機を使用します (CMM) to check if parts match the 3D model. A robot arm’s length should be 30cm ±0.03mm.
- 外観チェック: 亀裂を探します, ペイントチップ, or uneven surfaces. The outer shell should have no visible tool marks.
- Functional Retest: Run a quick test to ensure the robot still works after surface treatment. 例えば, check if the robot can move and its sensors still function.
パッケージングと配送のヒント
- 安全なパッケージ: Use foam inserts to hold the prototype in place and double-walled cardboard boxes to protect it. For a delicate robot with sensors, add anti-static bags to prevent electrical damage.
- ロジスティクス選択: Choose a logistics provider with experience shipping fragile items (例えば。, DHL, UPS). 国際的なクライアント向け, 税関の遅延を避けるために、「プロトタイプのみ」ラベルを含めます.
Yigu Technology’s Perspective on Plastic Robot Prototype Models
Yiguテクノロジーで, we know creating a plastic robot prototype model requires balancing precision and functionality. Many clients struggle with choosing materials for moving parts or achieving high accuracy in complex structures. 私たちの解決策: カスタマイズされた物質的なアドバイスを提供しています (例えば。, nylon for gears, PC for high-stress arms) and use CNC machining for precision parts plus silicone molding for small batches—cutting lead times by 25%. Our team also conducts strict load and electrical tests, ensuring prototypes meet design goals. We help robotics brands turn innovative ideas into testable prototypes fast.
よくある質問
- Q: Which material is best for a robot’s moving wheels?
a: pp (ポリプロピレン) 理想的です. It’s wear-resistant (so wheels last longer), フレキシブル (so it can handle bumpy surfaces), and easy to machine—perfect for robot wheels that move on floors or carpets.
- Q: How long does it take to make a plastic robot prototype model?
a: 方法と複雑さに依存します. A simple CNC-machined cleaning robot prototype takes 3–5 days. A complex 3D-printed industrial robot prototype takes 4–7 days. Surface treatment and testing add 1–2 days.
- Q: Can 3D printing be used for a robot prototype that needs to lift heavy loads?
a: お勧めしません. Most 3D printing resins have low tensile strength (can’t handle heavy loads). 負荷をかける部品用 (like robot arms), use CNC-machined PC or nylon—these materials are strong enough to lift 5kg or more.
