If you’re a product designer or engineer working with CNC metal prototypes, you may wonder how to add complex, high-quality patterns to their surfaces. Hydro transfer printing (also called water transfer printing) is the answer—it turns plain metal prototypes into visually appealing parts with intricate designs, even on curved or irregular surfaces. このガイドで, we’ll break down every step of the process, share key tips to avoid mistakes, and explain how to get the best results for your CNC metal prototype.
What Is Hydro Transfer Printing for CNC Metal Prototypes?
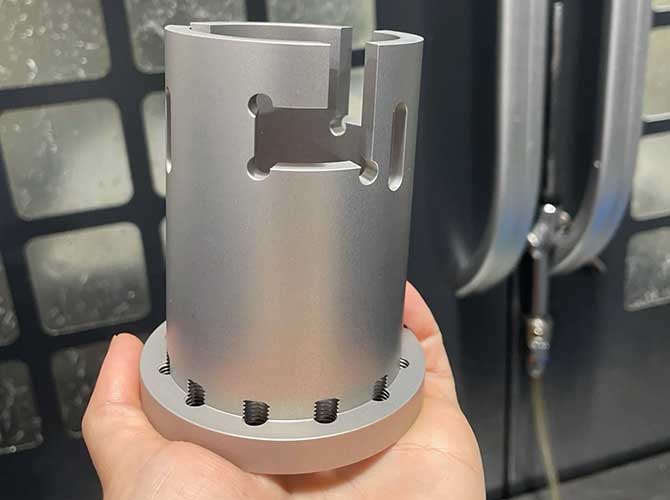
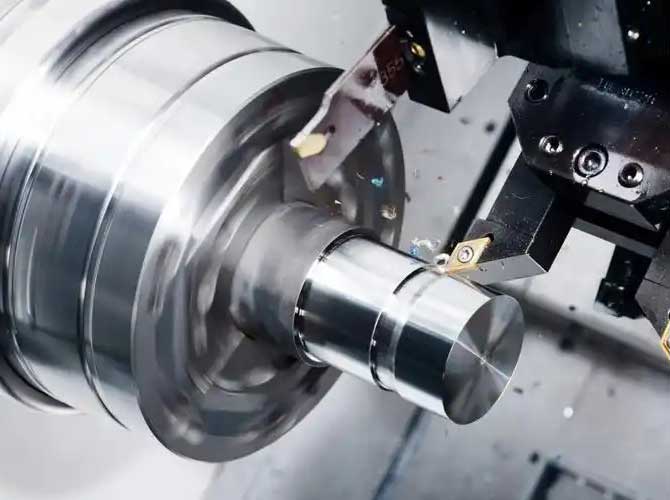
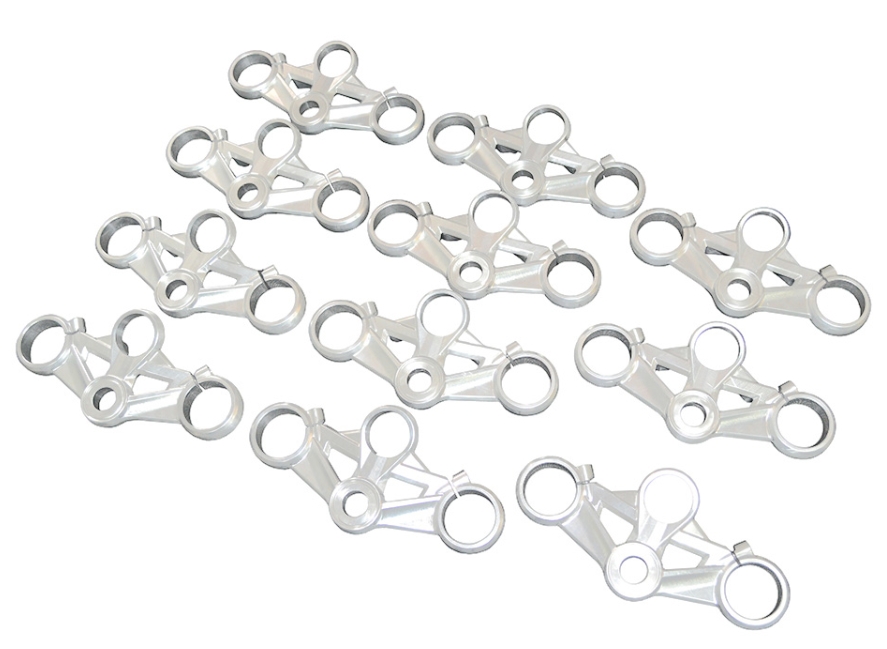
初め, let’s clarify what hydro transfer printing is and why it’s perfect for CNC metal prototypes. Hydro transfer printing is a surface decoration technique that uses water to transfer pre-printed patterns onto 3D objects. For CNC metal prototypes—parts made via computer-controlled machining—it solves a big problem: traditional printing methods (like screen printing) struggle with complex shapes, but hydro transfer adapts to curves, エッジ, and uneven surfaces effortlessly.
Here’s why it’s a top choice for CNC metal prototypes:
- 汎用性: Works on all CNC-machined metals (アルミニウム, ステンレス鋼, 真鍮, 等) and handles large sizes or tiny details.
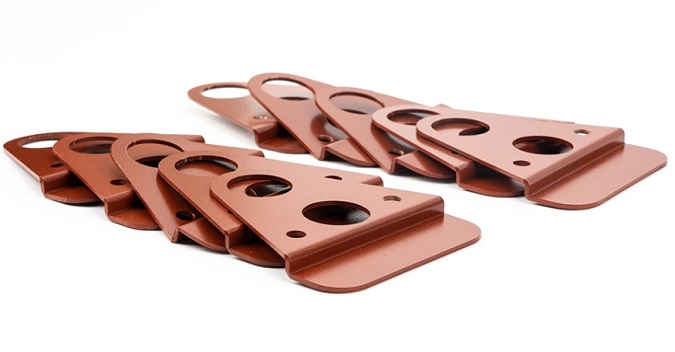
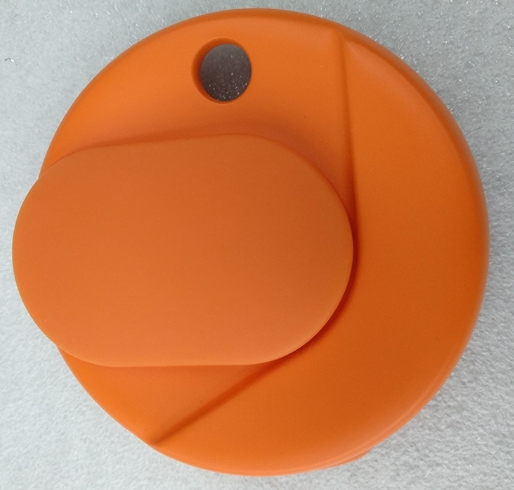
- Customization: Supports any pattern—wood grain, 炭素繊維, 迷彩, ロゴ, or unique designs tailored to your project.
- 耐久性: When paired with post-treatment (like clear coating), the pattern resists scratches and wear, matching the prototype’s functional strength.
Pre-Treatment Steps for CNC Metal Prototypes (Critical for Success)
Before starting hydro transfer printing, your CNC metal prototype must go through pre-treatment. Skipping these steps will lead to poor pattern adhesion—think bubbling, peeling, or uneven design. Below are the must-do pre-treatment steps, along with tools and timeframes:
| Pre-Treatment Step | 必要なツール | 処理時間 | Key Goal |
| 表面のクリーニング | イソプロピルアルコール, lint-free cloth | 5–10分 | Remove oil, ほこり, or machining residues |
| サンディング & 研磨 | Sandpaper (400–800 grit), polishing pad | 15–30分 | Create a smooth surface for pattern bonding |
| Degreasing | Industrial degreaser, water rinse | 10–15分 | Eliminate leftover oils from sanding |
| Drying | Air blower, clean drying rack | 20–30分 | Ensure no moisture remains on the surface |
ヒントの場合: After pre-treatment, run your finger over the metal—if it feels completely smooth (no grit or stickiness), it’s ready for hydro transfer. Any imperfection will show through the pattern!
Step-by-Step Hydro Transfer Printing Process for CNC Metal Prototypes
今, let’s dive into the core process. We’ll break it down into 5 clear steps, with specific details (like timings and tools) to help you follow along easily.
ステップ 1: Create the Hydro Transfer Film (Pattern Preparation)
The first step is making the hydro transfer film (also called water transfer paper) - これはあなたのデザインが生き返るところです. You can’t skip or rush this step, as the quality of the film directly impacts the final look.
- Design Digitization: Use design software (Adobe Photoshop, Coreldraw) to finalize your pattern. Ensure the size matches your prototype—add a 1–2cm “bleed” (エッジの周りの余分なパターン) to avoid missing spots.
- Film Printing: Print the design onto special hydro transfer film (available in polyester or water-soluble variants) using an inkjet or UV printer. UV ink is better for metal—it bonds stronger and resists fading.
- Drying the Film: Let the printed film air-dry for 30–60 minutes. If you use a heat lamp, keep it 30cm away (too much heat will warp the film).
注記: For small-batch prototypes (1–5 pieces), you can order pre-printed film from suppliers—this cuts the preparation time by 2–3 hours.
ステップ 2: Soak the Hydro Transfer Film
Once the film is ready, it’s time to activate the pattern with water. This step separates the pattern from the film so it can stick to the metal.
- Prepare the Water Tank: Fill a clean tank with room-temperature water (20–25°C). Too cold (below 18°C) slows down separation; too hot (above 28°C) ruins the pattern.
- Soak the Film: Lay the printed film flat on the water surface (パターン側の上に). Let it soak for 60–90 seconds—you’ll see the pattern start to “float” off the paper backing.
- Check Readiness: Gently touch the film with your finger. If the pattern slides easily, 準備ができています. If it sticks, さらに10〜15秒間浸します.
ステップ 3: Transfer the Pattern to the CNC Metal Prototype
This is the most hands-on step—precision here ensures the pattern lines up correctly.
- Position the Prototype: Hold the CNC metal prototype at a 45° angle above the water. Make sure the area you want to print is facing the floating pattern.
- Dip Slowly: Lower the prototype into the water at a steady speed (about 2–3cm per second). Don’t rush—fast dipping causes wrinkles or air bubbles.
- Smooth the Pattern: As the prototype submerges, use a soft brush to gently press the pattern against the metal surface. This removes air and ensures every part of the prototype is covered.
- Remove Excess Film: After dipping, lift the prototype out of the water and let excess water drain. Use a sharp blade to trim any leftover film edges (be careful not to scratch the metal).
ステップ 4: Dry the Prototype
Proper drying is key to locking the pattern in place. Rushing this step can lead to smudging or peeling.
- 初期乾燥: Let the prototype air-dry for 1–2 hours in a dust-free room. Avoid direct sunlight—UV rays can fade the pattern early.
- Final Drying: For better adhesion, use a heat gun (60〜80°Cに設定します) to dry the surface evenly. Keep the gun 20cm away and move it in circles—don’t focus on one spot for more than 5 秒.
- 乾燥を確認してください: After drying, the pattern should feel firm to the touch. If it’s still tacky, let it dry for another 30 分.
ステップ 5: Post-Treatment (Optional but Recommended)
To boost durability and shine, add a post-treatment step. This is especially important if your CNC metal prototype will be tested for wear or exposed to moisture.
- Clear Coating: Spray a thin layer of acrylic clear coat または エポキシ樹脂 over the pattern. This protects against scratches and makes the design last 2–3 times longer.
- 硬化: Let the clear coat cure for 4–6 hours at room temperature (or 1–2 hours in a 50°C oven for faster results).
- Final Inspection: Check for any drips, 泡, or uneven coating. 必要に応じて, lightly sand (with 1000-grit sandpaper) and reapply a second coat.
Key Factors That Affect Hydro Transfer Results for CNC Metal Prototypes
Even if you follow the steps, some factors can ruin your project. 以下は最も一般的な問題とそれらを修正する方法です, with data to guide your decisions:
| 要素 | Ideal Condition | よくある間違い | Impact on Result | Fix |
| Water Temperature | 20–25°C | Using cold water (<18°C) | Pattern won’t separate from film | Heat water with a thermometer to 22°C |
| Dipping Speed | 2–3cmあたり | Dipping too fast (>5cm/s) | Wrinkles or air bubbles in the pattern | Practice with a test piece first |
| Film Quality | UV-printed polyester film | Using low-quality inkjet film | Pattern fades or peels in 1–2 weeks | Invest in UV ink and polyester film |
| Pre-Treatment | Smooth, oil-free surface | Skipping degreasing | Pattern peels off within days | Use industrial degreaser and rinse well |
Yigu Technology’s Perspective on Hydro Transfer for CNC Metal Prototypes
Yiguテクノロジーで, we believe hydro transfer printing is a game-changer for CNC metal prototypes—it bridges functionality and aesthetics. 私たちのチームはプロセスを最適化します: 1) Using custom UV-printed films that bond 30% stronger to CNC metals; 2) Controlling water temperature and dipping speed with precision tools (±1°C, ±0.5cm/s) to avoid mistakes; 3) Adding a scratch-resistant clear coat that meets industrial wear standards. For most CNC metal prototypes, we complete the entire hydro transfer process in 1–2 days, ensuring fast turnaround without sacrificing quality. We also offer design support to help clients tweak patterns for perfect adhesion on complex CNC-machined shapes.
よくある質問:
1. Can hydro transfer printing work on all CNC-machined metals?
はい! It works on every common CNC metal, including aluminum, ステンレス鋼, 真鍮, and titanium. The only requirement is proper pre-treatment—harder metals (like stainless steel) may need extra sanding (800-grit instead of 400-grit) to create a rough enough surface for the pattern to stick.
2. How long will the hydro transfer pattern last on a CNC metal prototype?
With proper pre-treatment and a clear coat, the pattern can last 1–3 years under normal use (重い傷や一定の水分はありません). If the prototype is used for testing (例えば。, 繰り返し処理), we recommend adding a second clear coat to extend durability to 3+ 年.
3. Can I fix a mistake (like a bubble) during hydro transfer?
Yes—if you catch it quickly. For small bubbles, use a needle to poke a tiny hole, then press the pattern down with a soft brush to release air. For larger wrinkles, gently peel the pattern off (while it’s still wet) and re-dip the prototype with a new film. Wait until the metal is dry before trying again—re-dipping a wet prototype will ruin the new pattern.