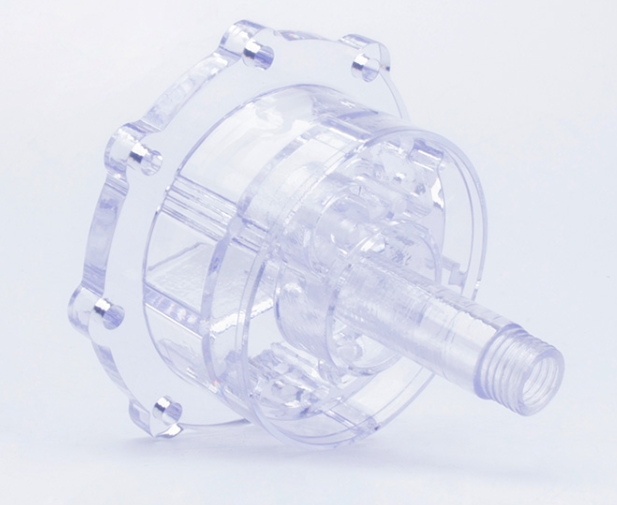
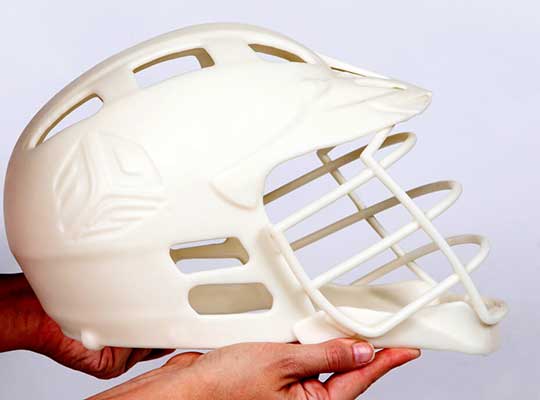
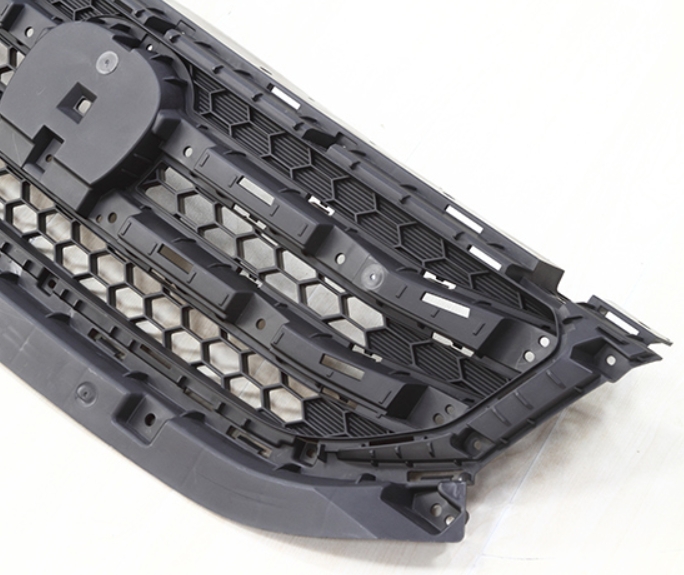
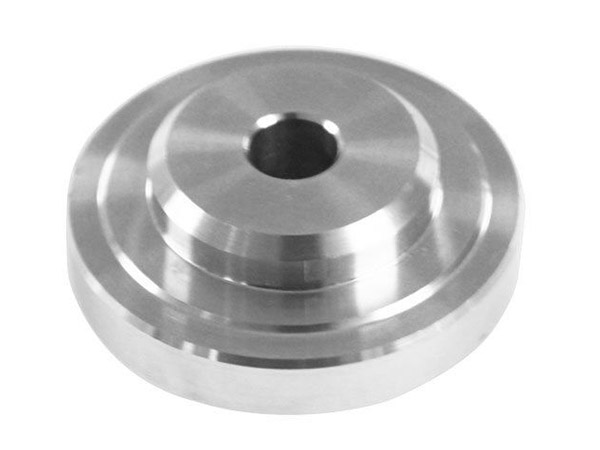
When developing transparent or translucent prototypes—such as display covers for consumer electronics, medical device viewports, or automotive instrument panels—CNC machining PMMA prototype shell is the top choice. PMMA (ポリメチルメタクリレート, also known as acrylic) offers exceptional clarity (92% 光伝達, nearly matching glass) および加工性, while CNC ensures precision that 3D printing often can’t match. This guide breaks down the entireCNC machining PMMA prototype shell プロセス, 実世界の例があります, データ, and tips to help you avoid common mistakes and create high-quality prototypes.
1. Why Choose CNC Machining for PMMA Prototype Shells?
プロセスに飛び込む前に, it’s critical to understand whyCNC machining PMMA stands out for prototype shells—especially compared to other materials and manufacturing methods.
Key Advantages of PMMA for Prototype Shells
- Superior Clarity: PMMA’s 92% light transmission makes it ideal for shells that need visibility (例えば。, a prototype for a smart fridge display or a medical device fluid chamber).
- Good Impact Resistance: ガラスとは異なり (which shatters easily), PMMA can withstand drops from 0.5m onto wood without breaking—critical for prototype testing.
- 加工性: PMMA cuts cleanly with minimal chipping (when using the right tools), reducing post-processing time.
How CNC Machining Beats Other Methods for PMMA Shells
| 方法 | 精度 | 表面仕上げ (ra) | リードタイム (1 Shell) | 材料廃棄物 | に最適です |
|---|---|---|---|---|---|
| CNC加工 | ±0.005–0.01mm | 0.1–0.8μm (glass-like) | 2–3日 | 15–20% (recyclable chips) | High-clarity, precise shells (例えば。, diagnostic tool viewports) |
| 3D印刷 (SLA) | ±0.1–0.2mm | 1.0–3.0μm (visible layer lines) | 3–5日 | 40–50% (supports) | Low-precision, non-critical shells (例えば。, concept models) |
| レーザー切断 | ±0.02–0.05mm | 0.8–1.5μm (slight burn marks) | 1–2日 | 25–30% (cutting gaps) | Flat, simple shells (例えば。, basic display covers) |
実世界の例: PMMA Shell for a Portable Ultrasound Device
A medical tech startup needed a prototype shell for a handheld ultrasound machine—one that was clear enough to show the device’s internal display and durable enough for field testing. They first tried SLA 3D printing but found the PMMA-like resin had visible layer lines (ruining display visibility) and cracked during drop tests. に切り替えますCNC machining PMMA solved both issues: the CNC shell had a smooth, clear finish (Ra 0.3μm) that didn’t distort the display, and it survived 10+ ドロップテスト (0.8コンクリートにm). The team also iterated on 2 design versions in just 5 日 - 開発のタイムラインを削減します 3 週.
2. Step-by-Step Process for CNC Machining PMMA Prototype Shells
高品質の作成CNC machining PMMA prototype shell requires 7 キーステージ. Each step is critical to maintaining PMMA’s clarity and ensuring the shell meets your design specs:
2.1 デザイン & プログラミング: Lay the Groundwork for Clarity
PMMA’s transparency means even small design flaws (例えば。, uneven walls) will be visible—so precision here is non-negotiable.
2.1.1 Create a Detailed 3D Model
Use professional 3D software (e.g.,SOLIDWORKS, Autodesk Inventor, または融合 360) to design the shell. Focus on these key details:
- 壁の厚さ: Keep PMMA walls between 2–4mm. Thinner walls (<2mm) may crack during machining; thicker walls (>4mm) 反り原因になる可能性があります (ruining clarity).
- Radius Corners: Avoid sharp corners—use a minimum radius of 1mm. Sharp corners are prone to chipping (a major issue for transparent shells) and create stress points.
- 公差: Specify ±0.01mm for mating parts (例えば。, a shell lid and base). PMMA’s rigidity means even small gaps will be noticeable and affect fit.
Tip for Engineers: Add a 0.5mm “clearance edge” around the shell’s opening. This prevents the CNC tool from scratching the visible surface during machining.
2.1.2 Generate G-Code for PMMA
Import the 3D model into CAM software (e.g.,Mastercam, 融合 360 カム) to create G-code. For PMMA, optimize the code to avoid melting (PMMA’s melting point is 160–180°C):
- スピンドル速度: 6,000–8,000 RPM (faster than ABS—PMMA needs faster cutting to reduce heat buildup).
- フィードレート: 150–250 mm/min (balances speed and precision; slower rates can cause melting).
- ツールパス: Use a “climb milling” path (cuts in the same direction as the tool’s rotation). This reduces chipping and creates a smoother surface.
Case Note: A manufacturer once used an ABS G-code program for a PMMA shell. The slow spindle speed (4,000 RPM) caused the PMMA to melt, leaving a cloudy residue on the shell’s surface. Re-programming with 7,000 RPM fixed the issue—but wasted 1 日と $200 in PMMA material.
2.2 機械 & 材料の準備: Protect PMMA’s Clarity
PMMA is scratch-prone, so preparation steps must focus on avoiding damage.
2.2.1 適切なCNCマシンを選択してください
- 3-軸CNC: Best for simple, flat shells (例えば。, a rectangular display cover) with no undercuts. It’s affordable and fast for basic designs.
- 5-軸CNC: For complex shells (例えば。, curved automotive instrument panels) with angled surfaces. It cuts the shell from all sides in one setup, reducing scratches from repositioning.
2.2.2 Prepare the PMMA Material
- Select the Right PMMA Grade: 使用 cast PMMA (not extruded PMMA) for prototype shells. Cast PMMA has better clarity and machinability—extruded PMMA often has internal stress that causes cracking.
- Clean the Material: Wipe the PMMA sheet with a microfiber cloth and isopropyl alcohol (70%) 機械加工前. Dust or oil on the surface will scratch the shell during clamping.
- Clamp Carefully: Use a vacuum chuck (for flat shells) or soft-jaw vises (for curved shells) lined with felt. Hard clamps will scratch PMMA—felt prevents damage while keeping the material secure.
2.3 大まかな機械加工: Remove Excess Material Without Damage
Rough machining’s goal is to quickly shape the PMMA while minimizing heat and chipping.
- ツール選択: Use a 6–10mm carbide end mill with a sharp, single-flute design. Single-flute tools reduce heat buildup (critical for PMMA) and cut cleaner than multi-flute tools.
- パラメーター: Set a depth of cut of 1–2mm per pass and a feed rate of 200–250 mm/min. Avoid deep passes—they increase heat and risk cracking.
データポイント: A 3-axis CNC machine can rough-machine a 15cm x 10cm x 3mm PMMA shell in 10–15 minutes—2x faster than SLA 3D printing’s initial layer setup.
2.4 Finishing Machining: Refine for Clarity
This step ensures the shell’s surface is smooth and its dimensions are precise—key for transparency.
- ツール選択: Switch to a 2–4mm carbide end mill with a polished finish. A polished tool reduces friction, which prevents melting and creates a smoother surface.
- パラメーター: Lower the feed rate to 100–150 mm/min and the depth of cut to 0.1–0.3mm per pass. 遅い, shallow passes improve precision and avoid chipping.
例: A team machining a PMMA shell for a smartwatch display used a 3mm polished carbide end mill. The result was a shell with a diameter tolerance of ±0.008mm—perfect for fitting the watch’s screen—and a surface smooth enough to reflect light evenly (no cloudiness).
2.5 治療後: Enhance Clarity & 耐久性
PMMA shells need gentle post-processing to maintain their clarity. Avoid harsh chemicals or tools that scratch the surface.
- クリーニング: Blow away PMMA chips with compressed air (low pressure—high pressure can scratch). Then wipe the shell with a microfiber cloth and isopropyl alcohol (70%) to remove cutting fluids.
- deburring: Use a 1,000–1,500 grit wet-sanding pad (wet to prevent dust) 粗いエッジを滑らかにする. Dry sanding creates dust that scratches PMMA—always wet-sand.
- 研磨 (オプション): For ultra-clear shells (例えば。, medical device viewports), use a PMMA-specific polish (例えば。, Novus Plastic Polish). Apply with a soft cloth in circular motions until the surface shines.
Tip for Procurement: Ask your supplier to handle post-treatment—they have the tools to avoid scratches. Outsourcing this step adds 1 day to lead time but saves you from ruining the shell.
2.6 品質検査: Check Clarity & 精度
PMMA shells are judged by both how they look and how well they fit—so inspection must cover both.
- Clarity Test: Hold the shell up to a bright light (例えば。, a LED panel). Check for cloudiness, 傷, or bubbles—these are dealbreakers for transparent applications.
- 寸法チェック: 座標測定機を使用します (CMM) 重要な寸法を確認します (例えば。, shell height, opening width). For small shells, use a digital caliper (accuracy ±0.01mm).
- フィットテスト: Assemble the shell with internal components (例えば。, a display, circuit board). Ensure there are no gaps—PMMA’s rigidity means even 0.1mm gaps will affect functionality.
2.7 配達: Protect the Shell During Transport
PMMA is scratch-prone, so packaging is make-or-break for delivery.
- Wrap the shell in anti-static, lint-free plastic film (avoids dust and scratches).
- Place it in a rigid foam insert (custom-cut to the shell’s shape) inside a cardboard box.
- Label the box “Fragile—PMMA Prototype Shell: Do Not Stack” to alert carriers.
Procurement Tip: Choose a shipping provider with climate control (例えば。, FedEx Temperature-Controlled). PMMA softens in temperatures above 40°C—heat can warp the shell during transit.
3. Yigu Technology’s Perspective on CNC Machining PMMA Prototype Shells
Yiguテクノロジーで, 洗練しましたCNC machining PMMA prototype shell process for 500+ clients in electronics, 医学, and automotive industries. We prioritize cast PMMA for its clarity and use polished carbide tools to avoid scratches—our post-treatment team also specializes in PMMA polishing, ensuring shells meet even the strictest transparency standards. For complex shells, we use 5-axis CNC machines to reduce repositioning (cutting scratch risk by 60%) and offer 3–5 day lead times for standard orders. 調達チーム向け, we provide material certificates (例えば。, RoHS, FDA for medical use) and transparent quotes—no hidden fees for waste or post-treatment. Our goal is to make PMMA shell machining simple, 速い, and reliable—helping you turn designs into testable, clear prototypes.
4. よくある質問
Q1: How much does a CNC-machined PMMA prototype shell cost?
コストはサイズと複雑さに依存します. 小さい, simple shell (例えば。, 10cm x 8cm x 3mm display cover) costs $80–$150. A large, complex shell (例えば。, 25cm x 15cm x 4mm automotive panel) costs $200–$400. Volume discounts apply for 5+ シェル (typically 15–20% off).
Q2: Can CNC-machined PMMA shells be used for outdoor applications?
Yes—if you add a UV-resistant coating. Uncoated PMMA yellows in direct sunlight after 6+ 数ヶ月, but a UV coating (例えば。, acrylic UV protectant) extends its lifespan to 2+ 年. We recommend this for outdoor prototypes like automotive instrument panels.
Q3: How long does the entire CNC machining PMMA prototype shell process take?
For a single shell, 3〜7日かかります: 1–2 days for design/programming, 1–2 days for machining, 1 day for post-treatment, and 1–2 days for inspection/delivery. Complex shells (5-axis machining) may take 5–10 days. 急いで注文します (2–3日) are available for an extra 75–100% fee.
