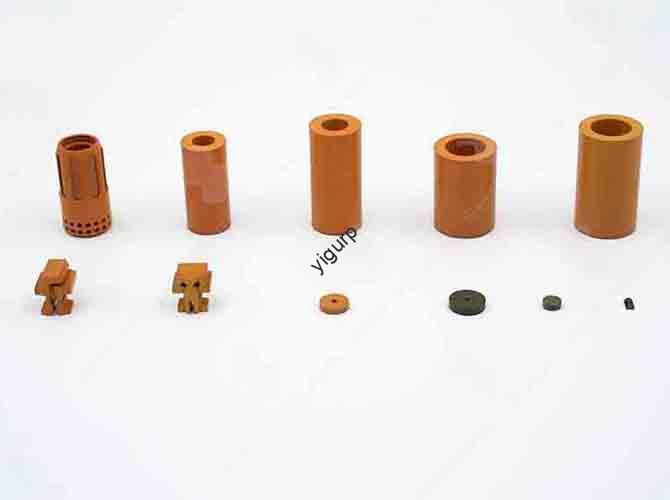
Se ti sei mai chiesto come vengono realizzate parti precise in metallo o plastica per settori come quello aerospaziale, automobilistico, o dispositivi medici, the answer often lies in the CNC machining process. Questo metodo di produzione controllato da computer trasforma i progetti digitali in prodotti fisici con una precisione senza pari. Ma come funziona passo dopo passo? And what do you need to know to ensure a smooth, efficient process? Let’s break it down clearly.
1. Core Stages of the CNC Machining Process: A Step-by-Step Breakdown
The CNC machining process isn’t just “press a button and wait”—it’s a structured sequence of 6 fasi chiave. Below is a detailed table to help you understand each step, its purpose, and key tools:
| Stage | Key Task | Scopo | Essential Tools/Software |
| 1. Progettazione del prodotto | Create a 3D model of the part | Ensure the part meets size, forma, and function requirements | Software CAD (per esempio., SolidWorks, AutoCAD) |
| 2. Selezione dei materiali | Choose the right raw material | Match material properties (forza, durabilità, costo) to the part’s use | Metallo (alluminio, acciaio), plastica (ABS, SBIRCIARE), legna |
| 3. Program Writing | Convert the 3D model into machine code | Tell the CNC machine Come to cut/mill the part | CAM software (per esempio., Mastercam, Fusione 360) |
| 4. Configurazione della macchina | Prepare the CNC machine for operation | Secure the workpiece and tools, adjust parameters | Workholding clamps, utensili da taglio (endmills, trapani), pinze |
| 5. Operazione di lavorazione | Run the program to shape the part | Turn raw material into the designed part | CNC mill, tornio, o router |
| 6. Ispezione & Correction | Check the part for accuracy | Ensure the final product matches the design | Micrometri, surface roughness testers, CMM (Macchina di misura a coordinate) |
2. Why Each Stage Matters: Common Problems and How to Avoid Them
Skipping or rushing a stage can lead to costly mistakes—like a part that’s too small, a broken tool, or a product that fails in use. Let’s use a cause-and-effect chain to see how each step impacts the end result:
- Problema 1: Poorly designed 3D models (Stage 1) → The CNC machine follows bad data → The part doesn’t fit with other components.
Soluzione: Use CAD software with “design for manufacturability (DFM)” checks to fix flaws early.
- Problema 2: Wrong material choice (Stage 2) → A plastic part meant for high heat melts during use → Product failure.
Soluzione: Chiedere: Will the part be exposed to pressure, variazioni di temperatura, o prodotti chimici? Choose materials accordingly (per esempio., titanium for medical implants, aluminum for lightweight automotive parts).
- Problema 3: Incorrect program code (Stage 3) → The machine cuts too deep or misses a feature → Wasted material and time.
Soluzione: Test the program with a “dry run” (no material) to catch errors before machining.
3. Lavorazione CNC vs. Traditional Machining: What Makes CNC Better?
You might be thinking: Why use CNC instead of traditional manual machining? Let’s compare the two with a contrast table to highlight key advantages:
| Fattore | Lavorazione CNC | Traditional Machining |
| Precisione | ±0,001 pollici (alta precisione) | ±0.01 inches (dipende dall'abilità dell'operatore) |
| Velocità | 2–5x faster for complex parts | Più lentamente, especially for detailed designs |
| Coerenza | Identical parts every time (no human error) | Variations between parts (operator-dependent) |
| Labor | 1 operator can run multiple machines | 1 operator per machine |
4. Key Tips to Optimize Your CNC Machining Process
Want to make your CNC process more efficient and cost-effective? Ecco 5 actionable tips, presented as a list for easy reference:
- Optimize the machining path: Use CAM software to reduce unnecessary tool movements (saves 10–20% of time).
- Choose the right cutting tool: A carbide tool lasts 3x longer than high-speed steel (reduces tool changes).
- Monitor cutting speed: Too fast = tool wear; too slow = wasted time. Follow material-specific speed guides (per esempio., 1,200 RPM per alluminio).
- Pre-inspect materials: Check for cracks or unevenness in raw materials to avoid machining defective parts.
- Train operators: Even advanced CNC machines need skilled staff—train teams to troubleshoot small issues (reduces downtime).
Yigu Technology’s Perspective on CNC Machining
Alla tecnologia Yigu, we’ve supported 500+ clients in optimizing their CNC machining process over the past decade. We believe CNC isn’t just a tool—it’s a bridge between innovation and production. Many clients initially struggle with material selection or program errors; our solution is to integrate DFM checks into the design stage and provide real-time machining monitoring. This approach cuts waste by 30% on average and ensures parts meet strict industry standards. For small-batch prototypes or large-scale production, CNC’s flexibility makes it irreplaceable—and we’re committed to making this process accessible to every business.
Domande frequenti
1. How long does a typical CNC machining process take?
It depends on part complexity: A simple 2-inch aluminum bracket takes 10–15 minutes, while a complex aerospace component with 50+ features can take 2–4 hours. The design and program writing stages add 1–2 days for new parts.
2. Can CNC machining handle all materials?
No—CNC works best with rigid materials like metals, plastica, and wood. It’s not ideal for soft materials (per esempio., schiuma) or extremely hard materials (per esempio., diamond) without specialized tools. Always consult a CNC expert for material compatibility.
3. What’s the most common mistake in the CNC machining process?
IL #1 mistake is ignoring DFM (progettazione per la producibilità) in the design stage. Per esempio, a part with a 0.05-inch internal corner might be impossible to cut with a 0.1-inch tool—leading to rework. Fixing this early saves time and money.
