Creating a reliable CNC machining electric baking pan prototype is a critical step in the product development cycle. Cierra la brecha entre los conceptos de diseño y la producción en masa., ayudar a los ingenieros a probar el formulario, función, y rendimiento. Este artículo desglosa todo el proceso con comparaciones claras., guía paso a paso, y herramientas prácticas para asegurar el éxito.
1. Preparación preliminar: The Foundation of Prototype Success
Before starting CNC machining, two core tasks—design drawing finalization y selección de materiales—must be completed. These steps directly determine the prototype’s accuracy and usability.
1.1 Design Drawing Requirements
Accurate 3D design drawings are non-negotiable. They must detail every component to avoid machining errors. Below is a checklist of key elements to include:
- Curvature of upper/lower covers (tolerancia: ±0,1 mm)
- Dimensions of the heating plate (longitud, ancho, espesor)
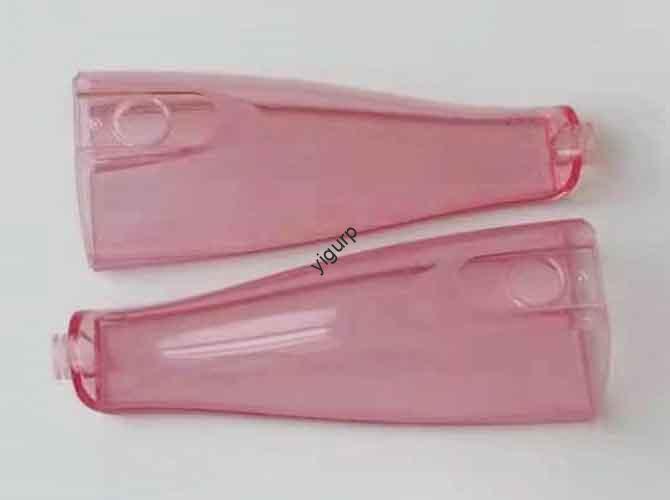
- Position and shape of the handle (to ensure ergonomic fit)
- Locations of functional parts (p.ej., temperature knobs, indicator lights)
Why is this important? A missing detail (p.ej., unmarked knob position) can force rework, increasing costs by 20–30% and delaying timelines by 1–2 weeks.
1.2 Selección de materiales: Plastic vs. Metal
Choosing the right material depends on your prototype’s purpose (appearance testing vs. performance testing). The table below compares the two most common options:
| Tipo de material | Ventajas clave | Mejor para | Rango de costos (por kilogramo) | maquinabilidad |
| Plástico ABS | Bajo costo, fácil de mecanizar, buen acabado superficial | Appearance verification, basic structure testing | \(2–)5 | Excelente (fast cutting speed) |
| Aleación de aluminio | Alta conductividad térmica, fuerte, resistente a la corrosión | Heating plate testing, strength testing | \(8–)15 | Bien (requires adjusted parameters) |
Ejemplo: If you need to test how heat distributes in the baking pan, aleación de aluminio es ideal. For a prototype to showcase the product’s look, Plástico ABS is more cost-effective.
2. Proceso de mecanizado CNC: From Setup to Finishing
The CNC machining phase turns raw materials into prototype components. It follows a linear workflow: machine setup → clamping → rough machining → finishing.
2.1 Machine Setup and Programming
Primero, select the right CNC equipment and program it for precision.
- Machine Selection:
- Pequeños prototipos (tamaño <30centímetro): Use a small CNC milling machine (p.ej., Haas TM-1).
- Large prototypes (size >50cm): Choose a large machining center (p.ej., Mazak VTC-800/30SR).
- CAM Software Programming:
- Import 3D design drawings into software like SolidWorks CAM or Mastercam.
- Set machining parameters (varía según el material):
- For ABS Plastic: Cutting speed = 1500–2000 rpm; Feed rate = 500–800 mm/min.
- For Aluminum Alloy: Cutting speed = 800–1200 rpm; Feed rate = 300–500 mm/min.
- Tool Path Planning:
- Roughing: Use a large tool (p.ej., 10mm end mill) to remove 80–90% of excess material.
- Refinamiento: Use a small tool (p.ej., 3mm end mill) to ensure surface smoothness (Real academia de bellas artes <0.8µm).
2.2 Clamping, Mecanizado en desbaste, and Finishing
Una vez programado, the machining begins. Here’s what to focus on at each step:
| Paso | Objetivo | Key Actions | Common Issues to Avoid |
| Clamping | Secure material to the machine table | – Use flat pliers for block ABS plastic.- Use indexing heads for cylindrical metal. | Loose clamping (causes workpiece movement). |
| Mecanizado en desbaste | Shape the workpiece (initial form) | – Cut at high feed rates to save time.- Monitor for vibration or excessive cutting force. | Overheating (use coolant for metal). |
| Refinamiento | Improve accuracy and surface quality | – Use small cutting depths (0.1-0,3 mm).- Focus on appearance surfaces (p.ej., upper cover). | Scratches (use sharp tools). |
3. Postprocesamiento: Perfecting the Prototype
Después del mecanizado, post-processing removes flaws and enhances the prototype’s look and performance.
3.1 Burr Removal
Burrs (sharp edges) are common after machining. Use these tools based on burr size:
- Small burrs (borde <0.5milímetros): Sandpaper (400–600 granos) for gentle sanding.
- Large burrs (edge >1mm): File (flat or round) primero, then sand with 200–400 grit sandpaper.
Estudio de caso: After machining an electric baking pan handle, burrs at the edges could scratch users. Removing them takes 5–10 minutes and ensures safety.
3.2 Surface Treatment Options
Choose a treatment based on material and prototype goals:
- Oil Spraying (for ABS Plastic):
- Use matte or glossy paint (p.ej., AkzoNobel industrial paint).
- Apply in a dust-free room to avoid particles in the coating.
- Hot Stamping (for logos/instructions):
- Stamp brand names or “ON/OFF” labels onto the surface.
- Beneficios: Alta resistencia al desgaste (dura 1000+ rub tests).
- galvanoplastia (for Aluminum Alloy):
- Plate with nickel or chrome to boost corrosion resistance.
- Use case: Electroplated heating plates resist oxidation for 2+ años.
4. Assembly and Inspection: Ensuring Prototype Quality
The final steps—asamblea y inspección—confirm the prototype meets design standards.
4.1 Assembly Process
Assemble components (upper cover, heating plate, handle) in this order:
- Attach the heating plate to the lower cover (use M3 screws).
- Install the hinge between upper and lower covers (test for smooth rotation).
- Fix the handle to the upper cover (ensure it can support 5kg weight).
Tip: Use a torque wrench to tighten screws (torque = 1.5–2.0 N·m) to avoid damage.
4.2 Inspection Checklist
Test the prototype in three key areas:
| Inspection Type | Tools Used | Pass Criteria |
| Apariencia | Visual check, gloss meter | – Uniform paint color (no spots).- Clear hot-stamped logos. |
| Función | Multimeter (for heating tests) | – Temperature knob turns smoothly.- Heating plate simulates 50–250°C (if functional). |
| Precisión dimensional | Calibrador, micrómetros | – Heating plate size: ±0.05mm.- Cover thickness: ±0,1 mm. |
La perspectiva de la tecnología Yigu
En Yigu Tecnología, we believe CNC machining electric baking pan prototypes are more than just “test models”—they are a way to reduce risks before mass production. Our team prioritizes two things: material matching (p.ej., using food-grade aluminum alloy for heating plates) and precision machining (tolerancia <0.03milímetros). We’ve found that investing in high-quality prototypes cuts 15–20% of post-production issues. For clients, this means faster time-to-market and lower costs. Whether you need an appearance prototype or a functional one, we tailor the process to your goals—no shortcuts, just reliable results.
Preguntas frecuentes
- q: How long does it take to make a CNC machining electric baking pan prototype?
A: Typically 5–7 days. Esto incluye 1 day for preparation, 2–3 days for machining, 1 día para el posprocesamiento, y 1 day for assembly/inspection.
- q: Can I use other materials besides ABS plastic and aluminum alloy?
A: Sí. Por ejemplo, PC plastic (a prueba de calor) is used for high-temperature prototypes, and stainless steel (más fuerte) is for parts needing extra durability. Sin embargo, these materials cost 30–50% more than ABS or aluminum.
- q: What if the prototype fails the dimensional accuracy test?
A: Primero, check the CAM program and clamping. If the issue is machining parameters, adjust the cutting speed/feed rate and re-machine the part. Most reworks take 1–2 days and add 10–15% to the cost (avoidable with careful setup).